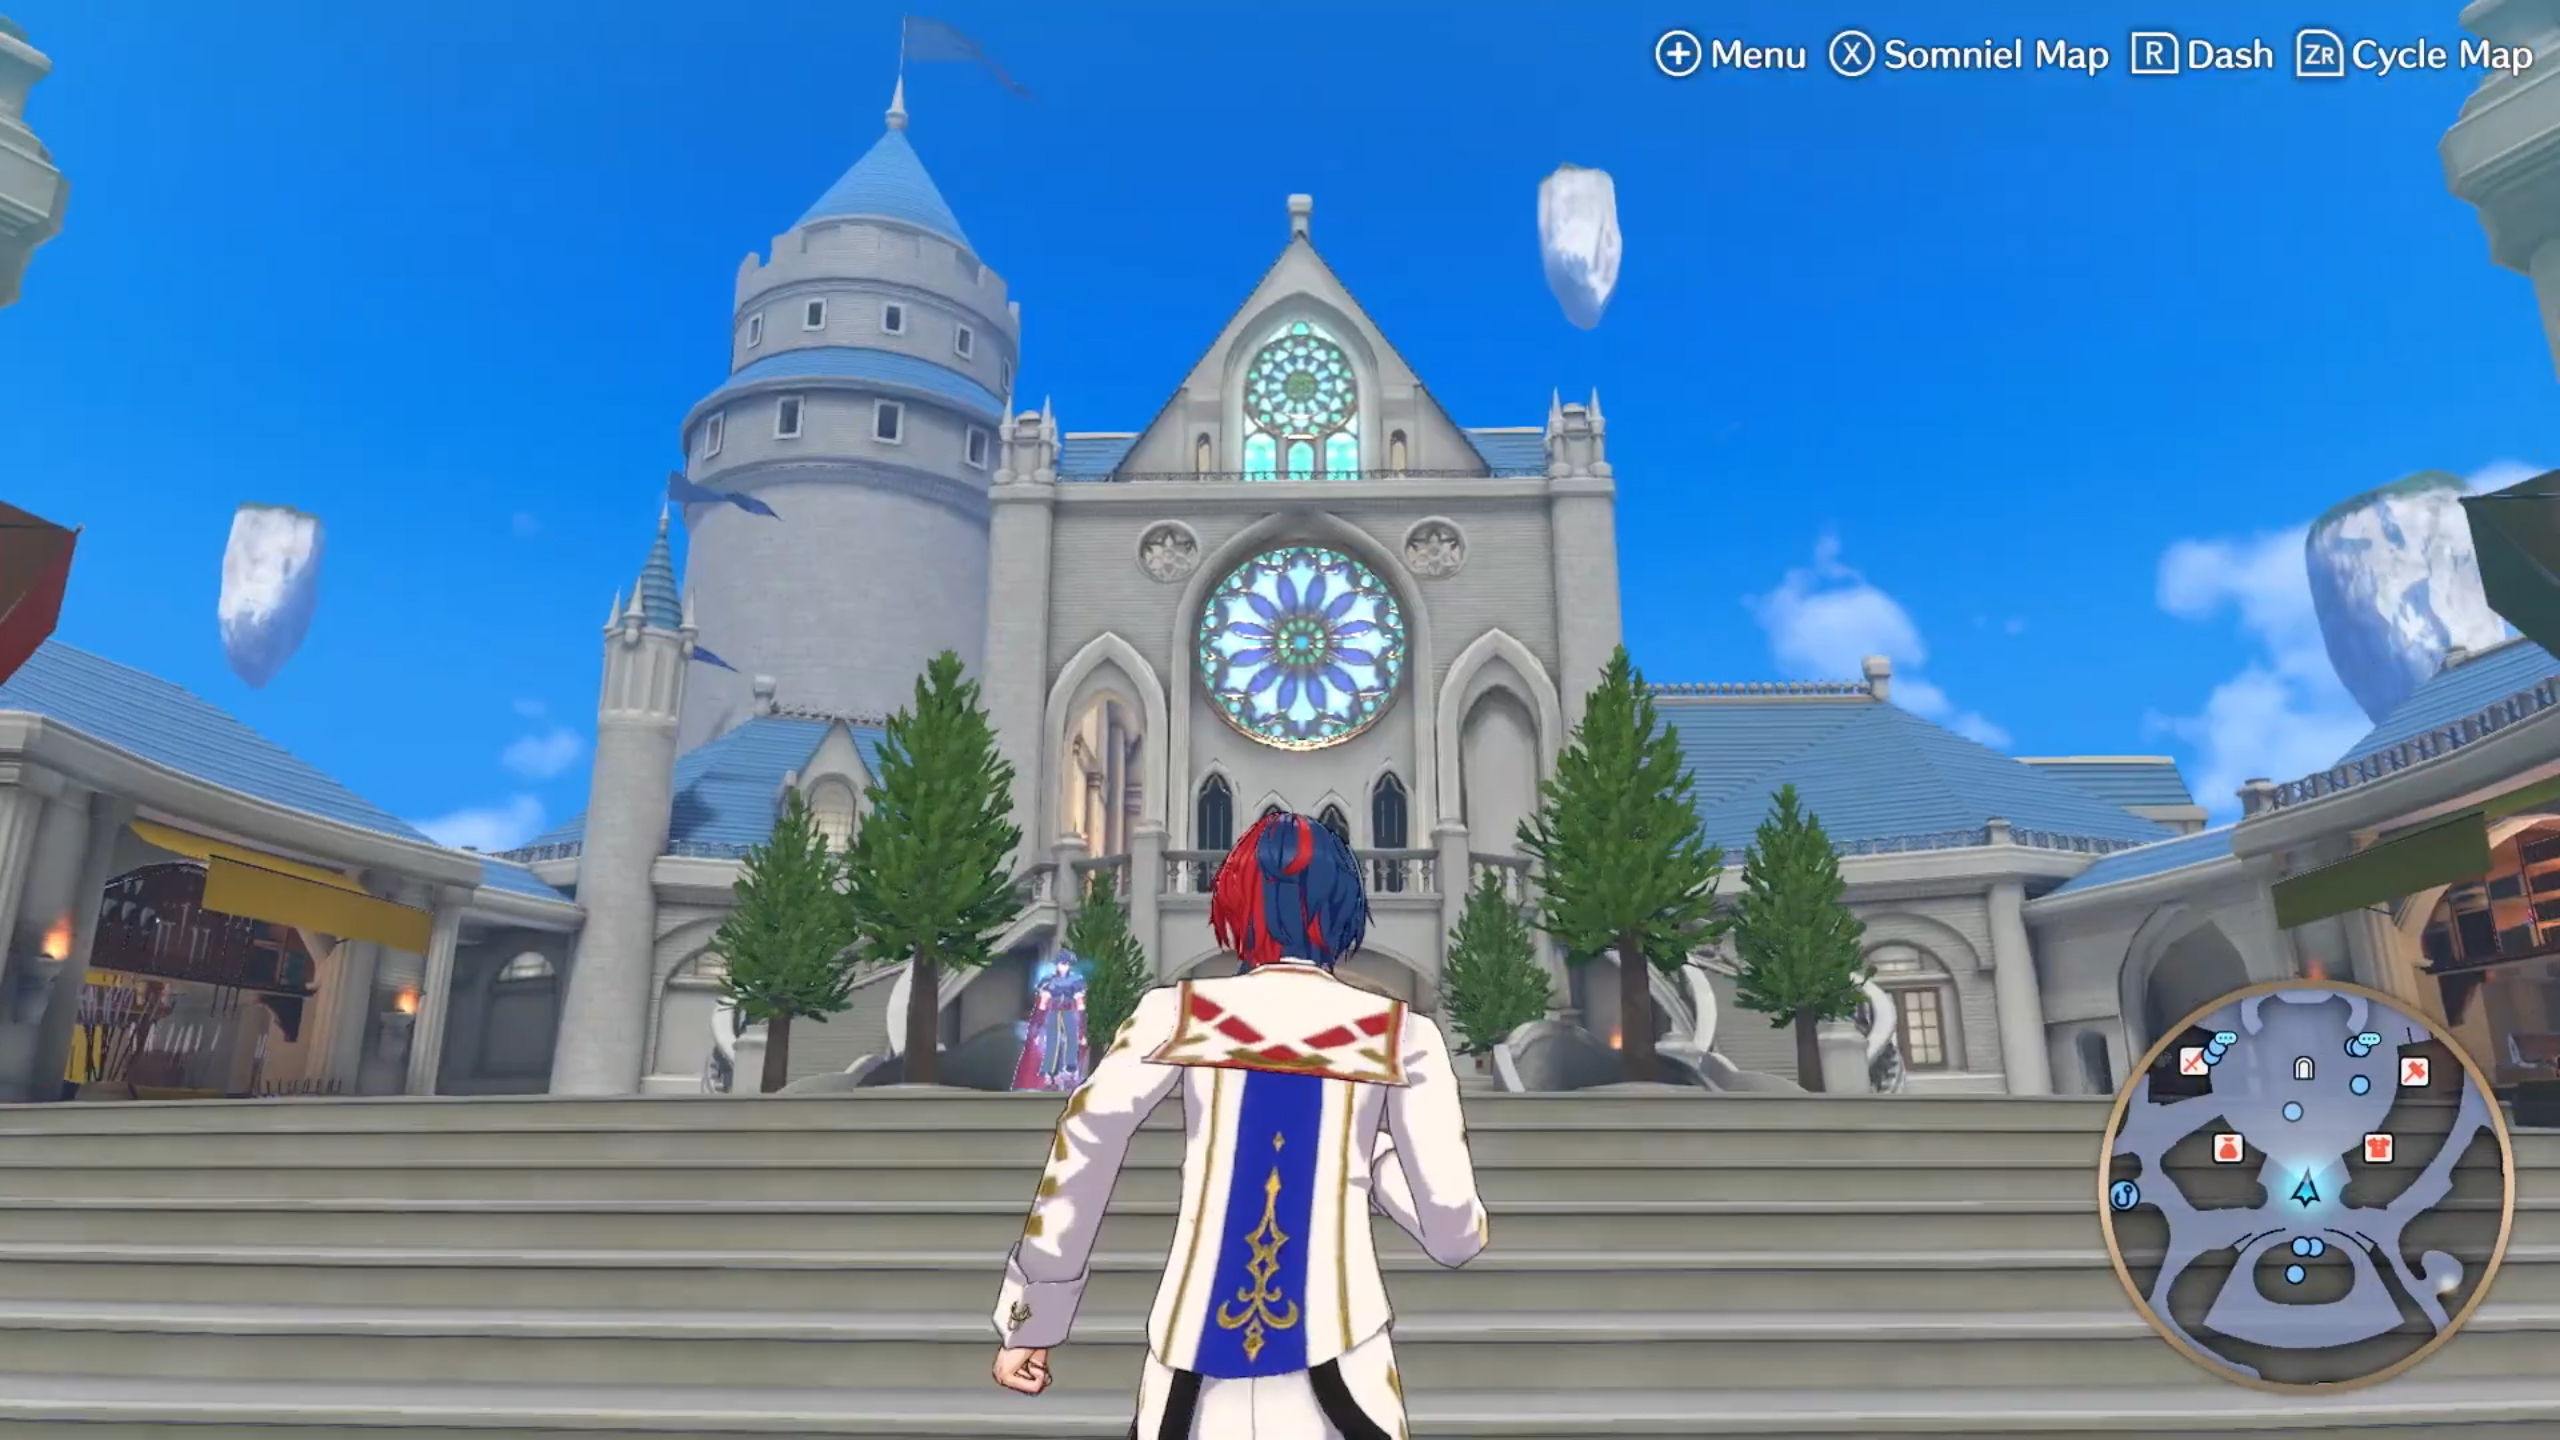
The Somniel is a floating fortress in the skies above Lythos, which serves as your base of operations.
You can access the Somniel after completing Chapter 3.
From the Somniel, you can head to the world map by using the warp circle at the plaza or by selecting the option from the menu.
To go back to the Somniel, you can open the world map menu and select “Depart”. You can also return to the Somniel after a battle by choosing it from the post-battle menu or selecting “Depart” while exploring.
Interact with Allies
Your allies can be found dotted around the Somniel. If you speak to them, you can give them gifts, to increase their support points.
Likewise, Emblems you’ve summoned will also be floating around the Somniel.
Note: Not all allies and Emblems are present at the Somniel at one time. A maximum of 23 characters, including Emblems (and yourself?) can be present. You can shuffle the characters around by resting in My Room.
Facilities
The Somniel has numerous facilities that will come in handy during your long campaign or just to wind down.
| Facility | Description | Unlock after |
|---|---|---|
| Fortune-Teller | Located near the farmyard. During night, you can get your fortune read by Seadall. | Ch 15 |
| Flea Market | Located east from the poolside. You can purchase gifts and knick knacks from Timerra. | Ch 13 |
| Wyvern Ride | Located north from the training yard. When you’re in the Divine Dragon class, you can borrow Ivy’s wyvern to shoot targets in the sky. | Ch 11 |
| Fishing | Located at the pond. You can try your hand at fishing, with Diamant’s permission. | Ch 8 |
| Tower of Trials | Located at the southernmost edge of the Somniel. This is where the Tempest Trials, Relay Trials and Outrealm Trials are. | Ch 6 |
| Order Meal | Available at Café Terrace. You can order food for yourself and two partners. | Ch 6 |
| Stable | Located at the farmyard. This is where you keep the animals you’ve adopted. | Ch 4 |
| Arena | Located next to Café Terrace. Train with your allies to earn experience points or Emblems to improve their Bond. | Ch 5 |
| Boutique | Located at the plaza. Come here to change your characters’ looks. | Ch 5 |
| Smithy | Located at the plaza. You can forge your weapons to improve their stats. | Ch 5 |
| Strength Training | Located at the training yard. You can do some exercise to obtain temporary stat boosts. | Ch 4 |
| Shrine? | Located at the grotto. It seems a strange creature lives here… | Ch 4 |
| Ring Chamber | Located next to Café Terrace. You can check your Emblems here, create Bond Rings or enhance Engage weapons. | Ch 4 |
| Item Shop | Located at the plaza. Where you can stock up on healing items and staves, etc. | Ch 4 |
| Armory | Located at the plaza. If you’re looking for new weapons, you’re in the right place. | Ch 4 |
| My Room | Located on the upper floor of Café Terrace. You can rest here to change the time of day, change the difficulty, view cutscenes, etc. | Ch 3 |
| Bulletin Board | Located inside Café Terrace. You can check the Somniel map, donate and check your achievements here. | Ch 3 |
| Music Box | Located inside Café Terrace. Allows you to change the music that plays in the Somniel. | Ch 3 |
| amiibo Gazebo | Located near the orchard. You can scan your amiibo here to unlock various goodies. | Ch 5 |
| Records Hall | Located near the farmyard. You can access the photoshoot and view your Profile Card here. | Ch 6 |
| Ancient Well | Located near the training yard. Toss your unwanted items to get random stuff. Available from Version 1.3.0. | Ch 6 |
| Stable (Refresh) | Located near the farmyard. You can choose two characters to raise their support points. Available from Version 1.2.0. | Ch 7 |
| Orchard (Refresh) | Located at the orchard. You can choose two characters to raise their support points. Available from Version 1.2.0. | Ch 7 |
| Pool (Refresh) | Located at the poolside. You can choose two characters to raise their support points. Available from Version 1.2.0. | Ch 7 |
Item Spawns
There are numerous sparkly spots where you can obtain items. These respawn whenever the Somniel refreshes, which is usually after every battle.
Note: In Maddening mode, the Somniel does not refresh after network battles.
| Location | Item | Rate (%) | Notes |
|---|---|---|---|
| Orchard | Apple | 75 | – |
| Peach | 75 | – | |
| Grape | 75 | – | |
| Orange | 75 | – | |
| Farmyard | Milk | 75 | – |
| Eggs | 75 | – | |
| Varies | 100 | Up to 5 random items, depending on your animals | |
| Flea Market | Wheat Flour | 75 | – |
| Near orchard | Nuts | 75 | – |
| Nuts | 75 | – | |
| Grotto | Bond fragment x50 | 75 | Guaranteed during first visit |
| Bond fragment x50 | 50 | Guaranteed during first visit | |
| Bond fragment x50 | 25 | Guaranteed during first visit | |
| Spirit Gem | 100 | One-time spawn | |
| Near training yard | Bond fragment x50 | 100 | Available while the statue is being worked on |
| Varies | Pretty Pebble | 100 | See note below |
| Horse Manure | 100 | See note below | |
| Spirit Gem | 100 | Sommie Bond 30; see note below | |
| Spirit Gem | 100 | Sommie Bond 60; see note below | |
| Rare Fruit/Vegetable/Fish | 100 | Sommie Bond 80; see note below |
Note: The noted items only respawn after non-skirmish or non-network battles. In other words, after completing a main story chapter, paralogue or DLC map for the first time.