It’s been a few weeks since Dragalia Lost, Nintendo and Cygame’s latest mobile endeavour, was released in the UK. Hopefully some of you have been enjoying your adventure in the mystical land of Grastaea!
Note: This article is based on Version 1.5.1, which came out on 26th February 2019.
For those of you in the dark about Dragalia Lost, we wrote an introductory article a while back. To keep things simple, it’s a brand new fantasy action RPG for smart devices that’s free-to-start, but contains the usual micro-transactions to keep the company’s monthly bills paid.
During the UK launch, we shared some beginner tips for the game, with a promise of additional tips to come. So that’s why we’re back here again! This time, we’re going to take things up a notch, with some tips geared for intermediate level players.
Once you’ve passed Chapter 3 or 4 of the main story or if you’ve played for one or two weeks, you’ve probably graduated from becoming a beginner. Around this time, you might notice the difficulty starting to ramping up. That means it’s a good time to learn some new tricks…
1. Make Use of I-Frames

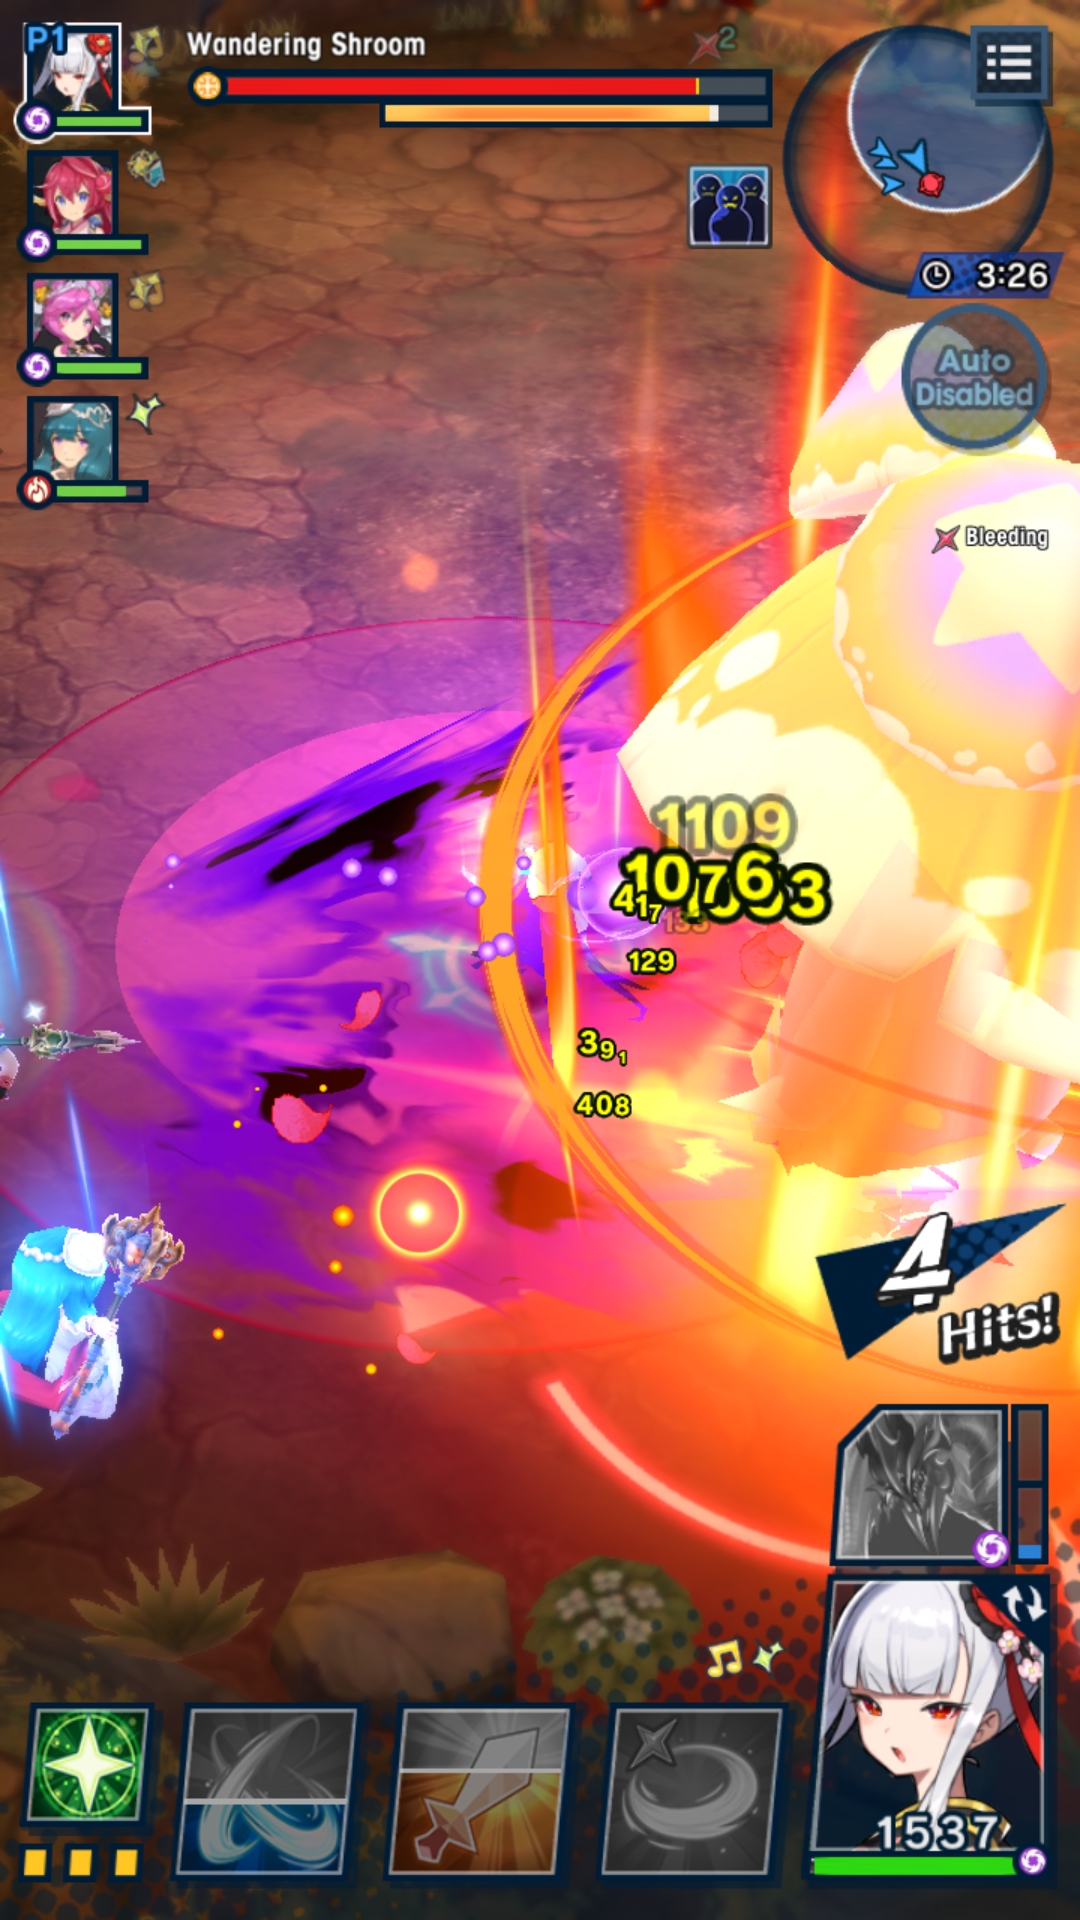
Stuck in the middle of a boss’s attack? Trigger a skill at the right time and you’ll avoid the attack!
If you’ve played many action games, you may already know about I-Frames, short for “Invincibility Frames”. After performing certain actions, your character will become invincible to enemy attacks during the duration (frames) of that action’s animation. Hence the name. The reason I bring this up is because, duh, Dragalia also has I-Frames.
Most notably, characters have I-Frames when they use any of their special skills. Likewise, there are I-Frames when you use a Helper skill. Even if you’ve never heard of I-Frames, you may have already noticed this behaviour before me telling you, when you trigger a skill and nothing interrupts you.
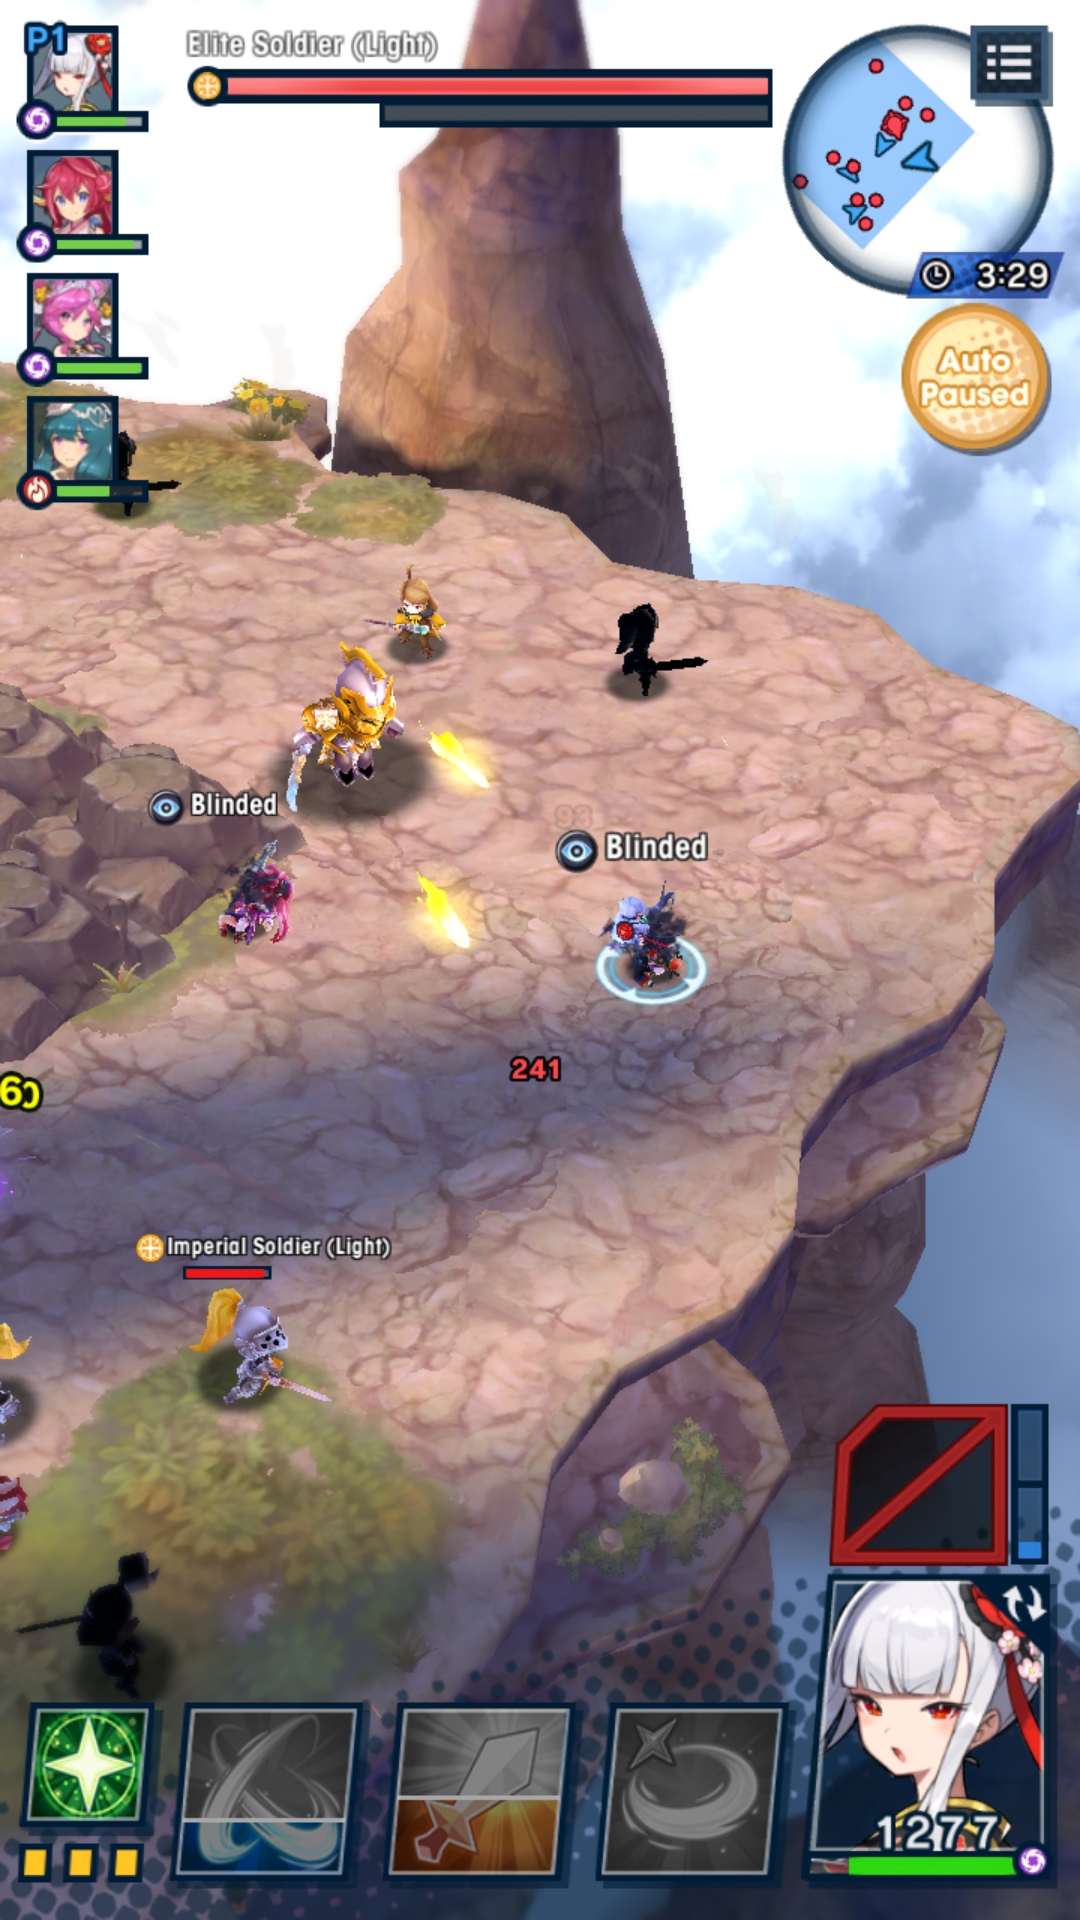
Using I-Frames, known as “I-Framing”, isn’t essential for clearing most gameplay content, but it does help a lot. Especially when the bosses get stronger. Usually, bosses will telegraph their attacks with red attack markers. These can be I-Framed. If your timing is good, you can save your own skin and/or increase your DPS (damage per second)!
However, not everything is that simple. Harder bosses may have purple attack markers, which cannot be I-Framed. So don’t bother using a skill as you’ll get interrupted and still take damage. However, if you’re quick, you can “absorb” a purple attack by shape-shifting into a Dragon. You still take damage, but it depletes your Dragon meter not your precious HP.
2. Craft Some Killer Weapons
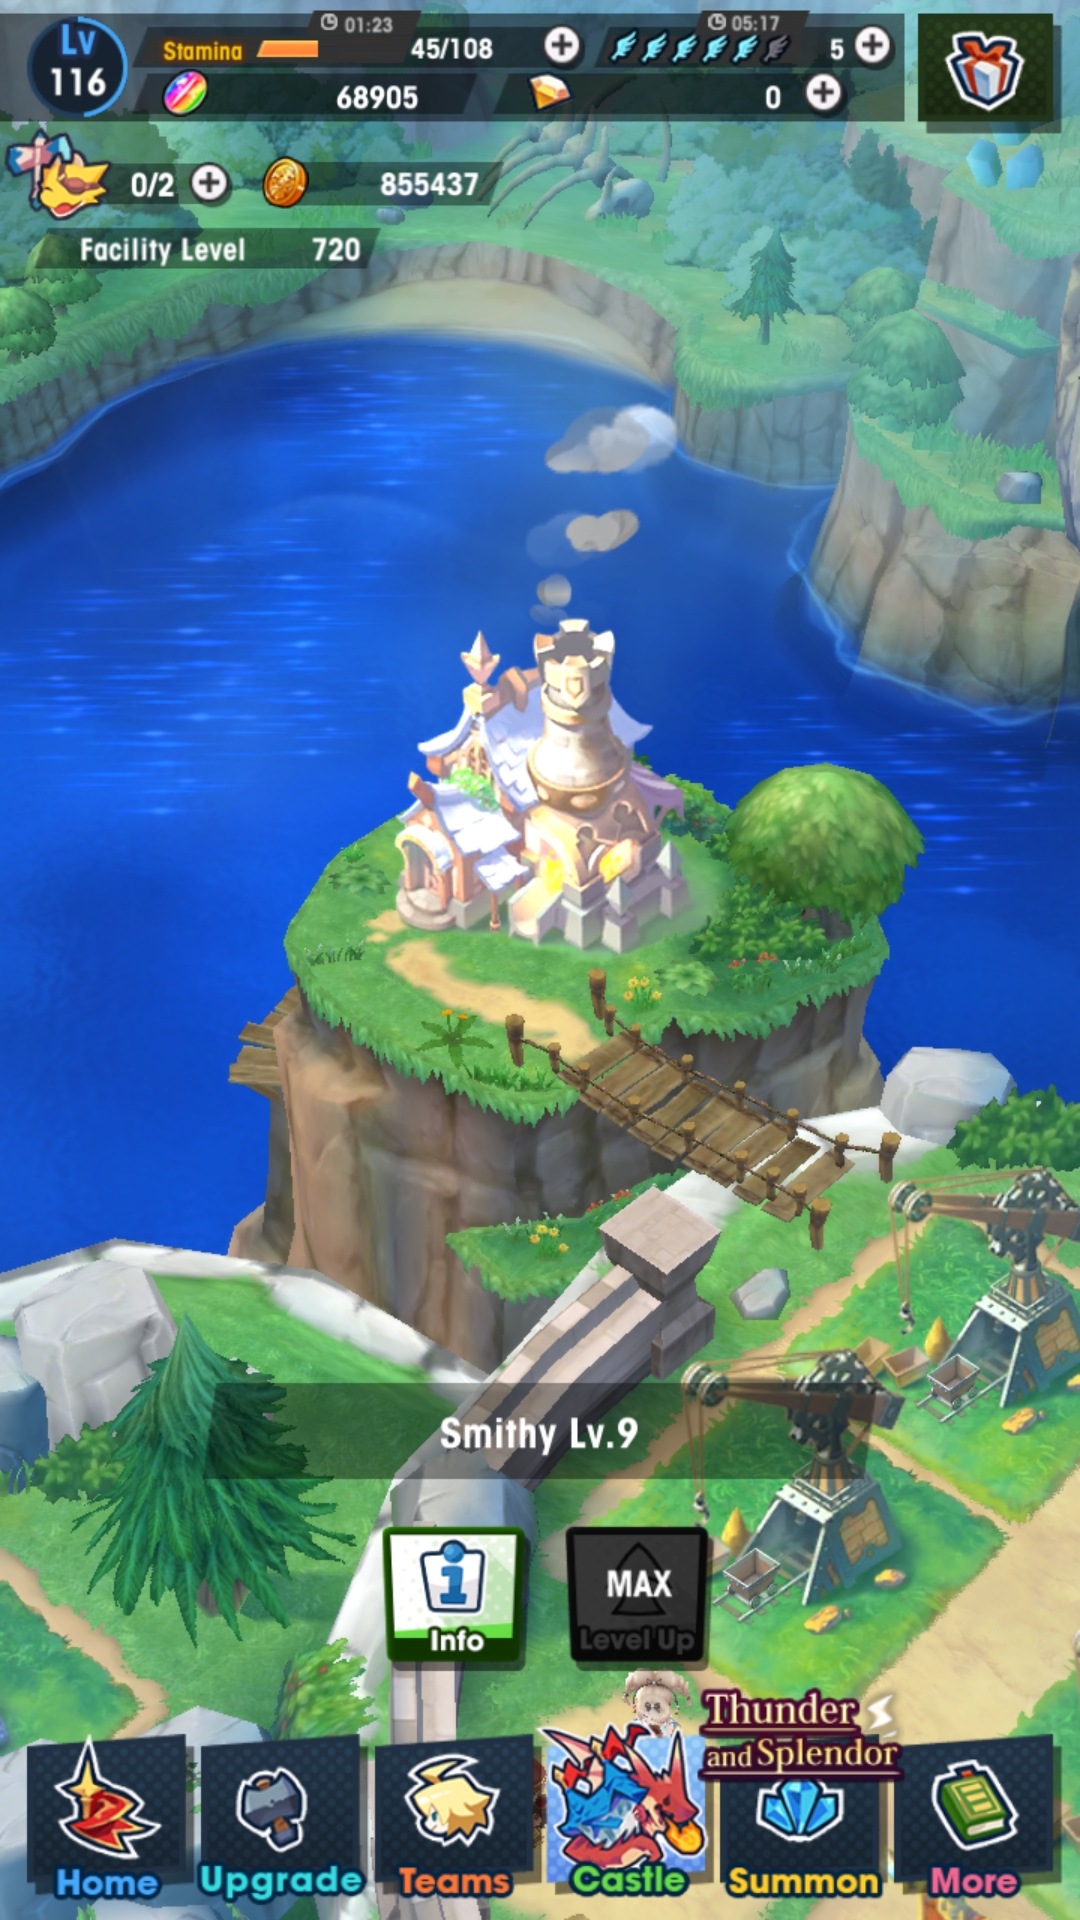

With the Smithy on your side, you can start forging some incredible weapons!
As you progress through the early stages, you’ll no doubt have been inundated with 2-star weapons. These are decent early on and you can unbind (i.e. merge) copies of the same weapon together to make them stronger. But these humble weapons definitely won’t be effective for long.
In order to boost your firepower, you should make it a priority to build and upgrade the Smithy in your Halidom. The Smithy can be built after finishing Chapter 2 of the story. After that, you can continue to upgrade it when your Halidom is Level 2, 3… all the way to 7.
The higher level your Smithy, the better weapons you can craft. But since you’re restricted by your Halidom Level, which is restricted by the total Level of all facilities in the Halidom, that you means you have to do a LOT of building work. Well, we did warn you in our earlier article…
Also, the weapon crafting itself is actually a bit more complicated than you may be used to. Typically, weapons are categorised by their star rating/rarity. To start with, you can craft 3-star weapons, which are average, and eventually 5-star ones, which are the best. Seems easy so far.
On top of that, weapons within the same star rarity are divided into three tiers: I (lowest), II and III (highest). You’ll always start by crafting a Tier I weapon, then you can upgrade it to a Tier II and, after that, Tier III. Assuming your Smithy is high enough Level, of course.
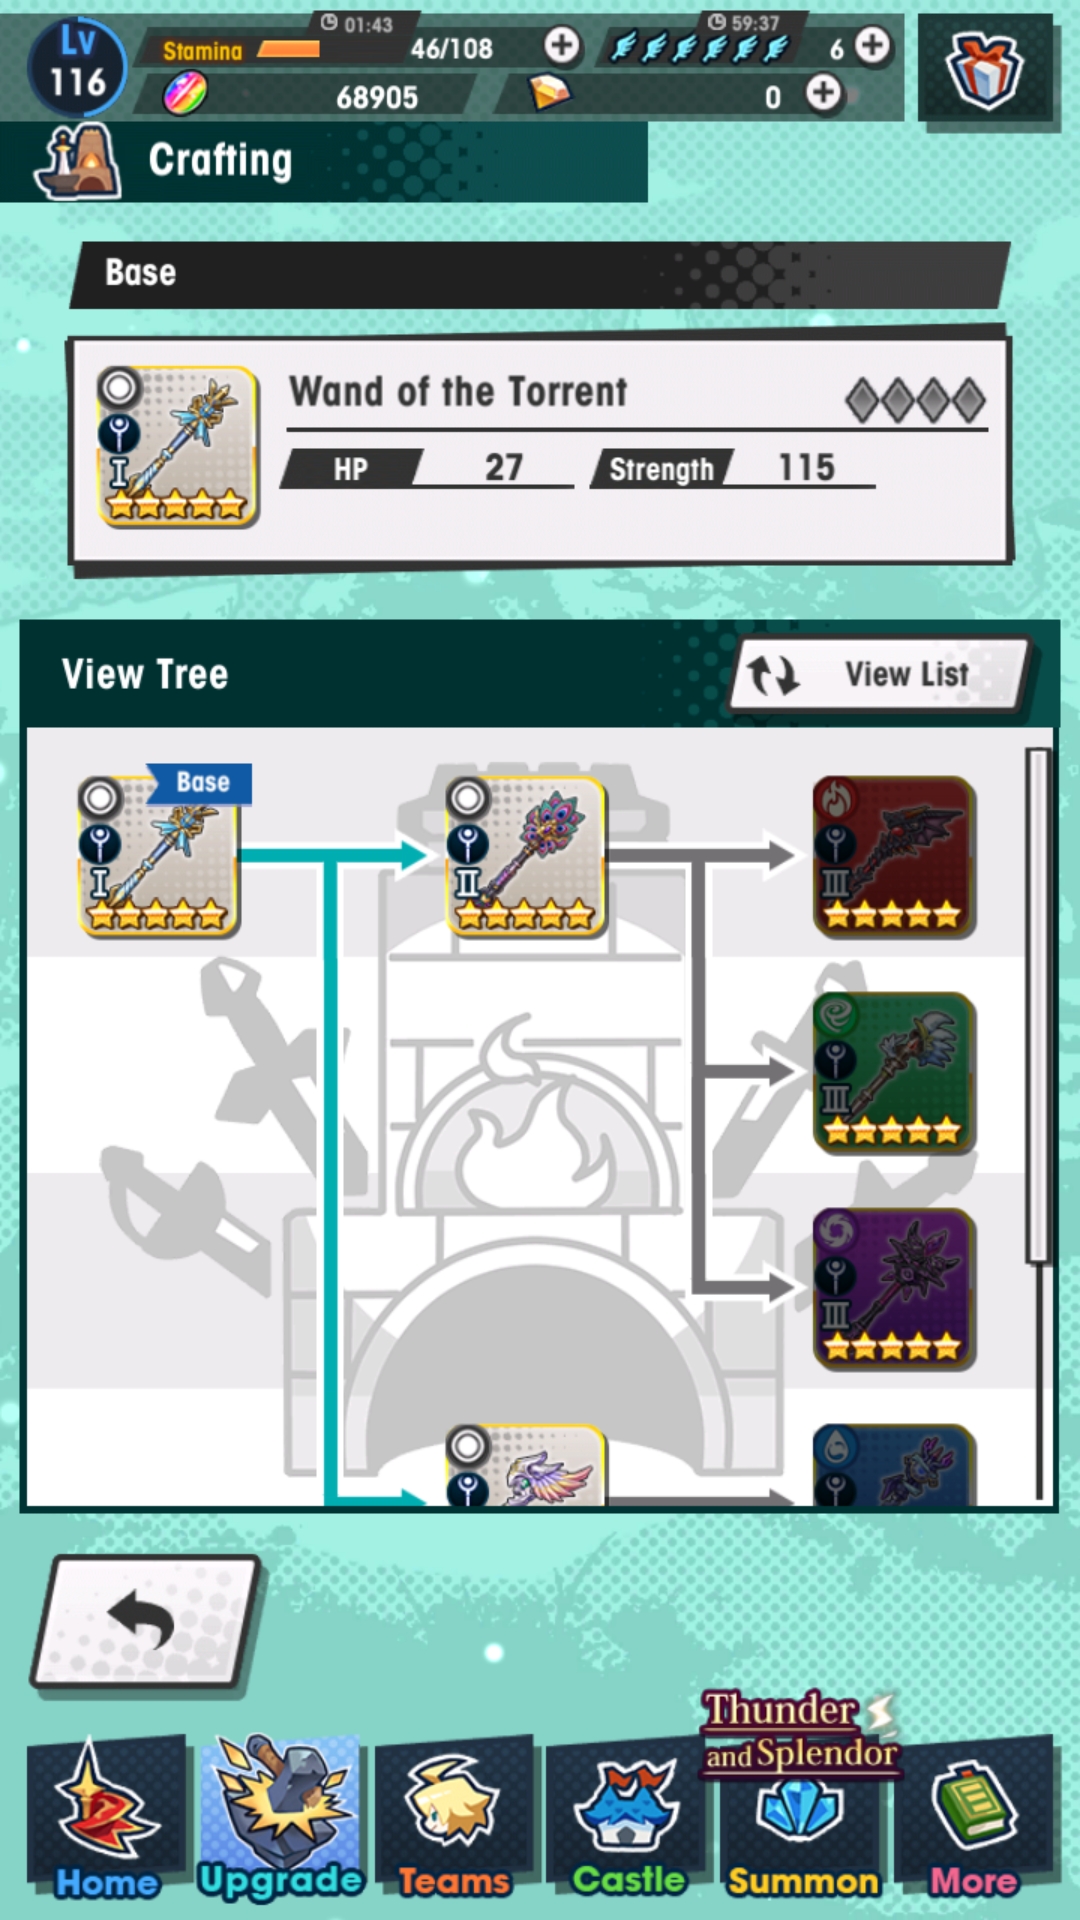
It’s a long, long way to get a 5-star Tier III weapon, but well worth the effort.
Unsurprisingly, you need additional materials and you must pay a fee to upgrade a weapon to the next tier. However, that’s not all. Your current weapon must also be fully unbound (combined with 4 other copies) and be at max Level. That means to make a Tier II weapon, you need to craft 5 copies of a Tier I weapon.
Then to upgrade your Tier II weapon, the same rules apply. So the Tier II weapon must be combined with 4 other copies of itself. Which each need 5 copies of a Tier I weapon. So the final tally comes to 25 copies of a Tier I weapon required. Well, good luck farming those materials!
Because the costs get higher and higher as you climb up the Tiers, we don’t recommend crafting Tier III weapons for each rarity. Instead, the common approach is probably to craft a 3-star Tier I weapon, then skip Tier II and Tier III and jump straight to 4-star Tier I.
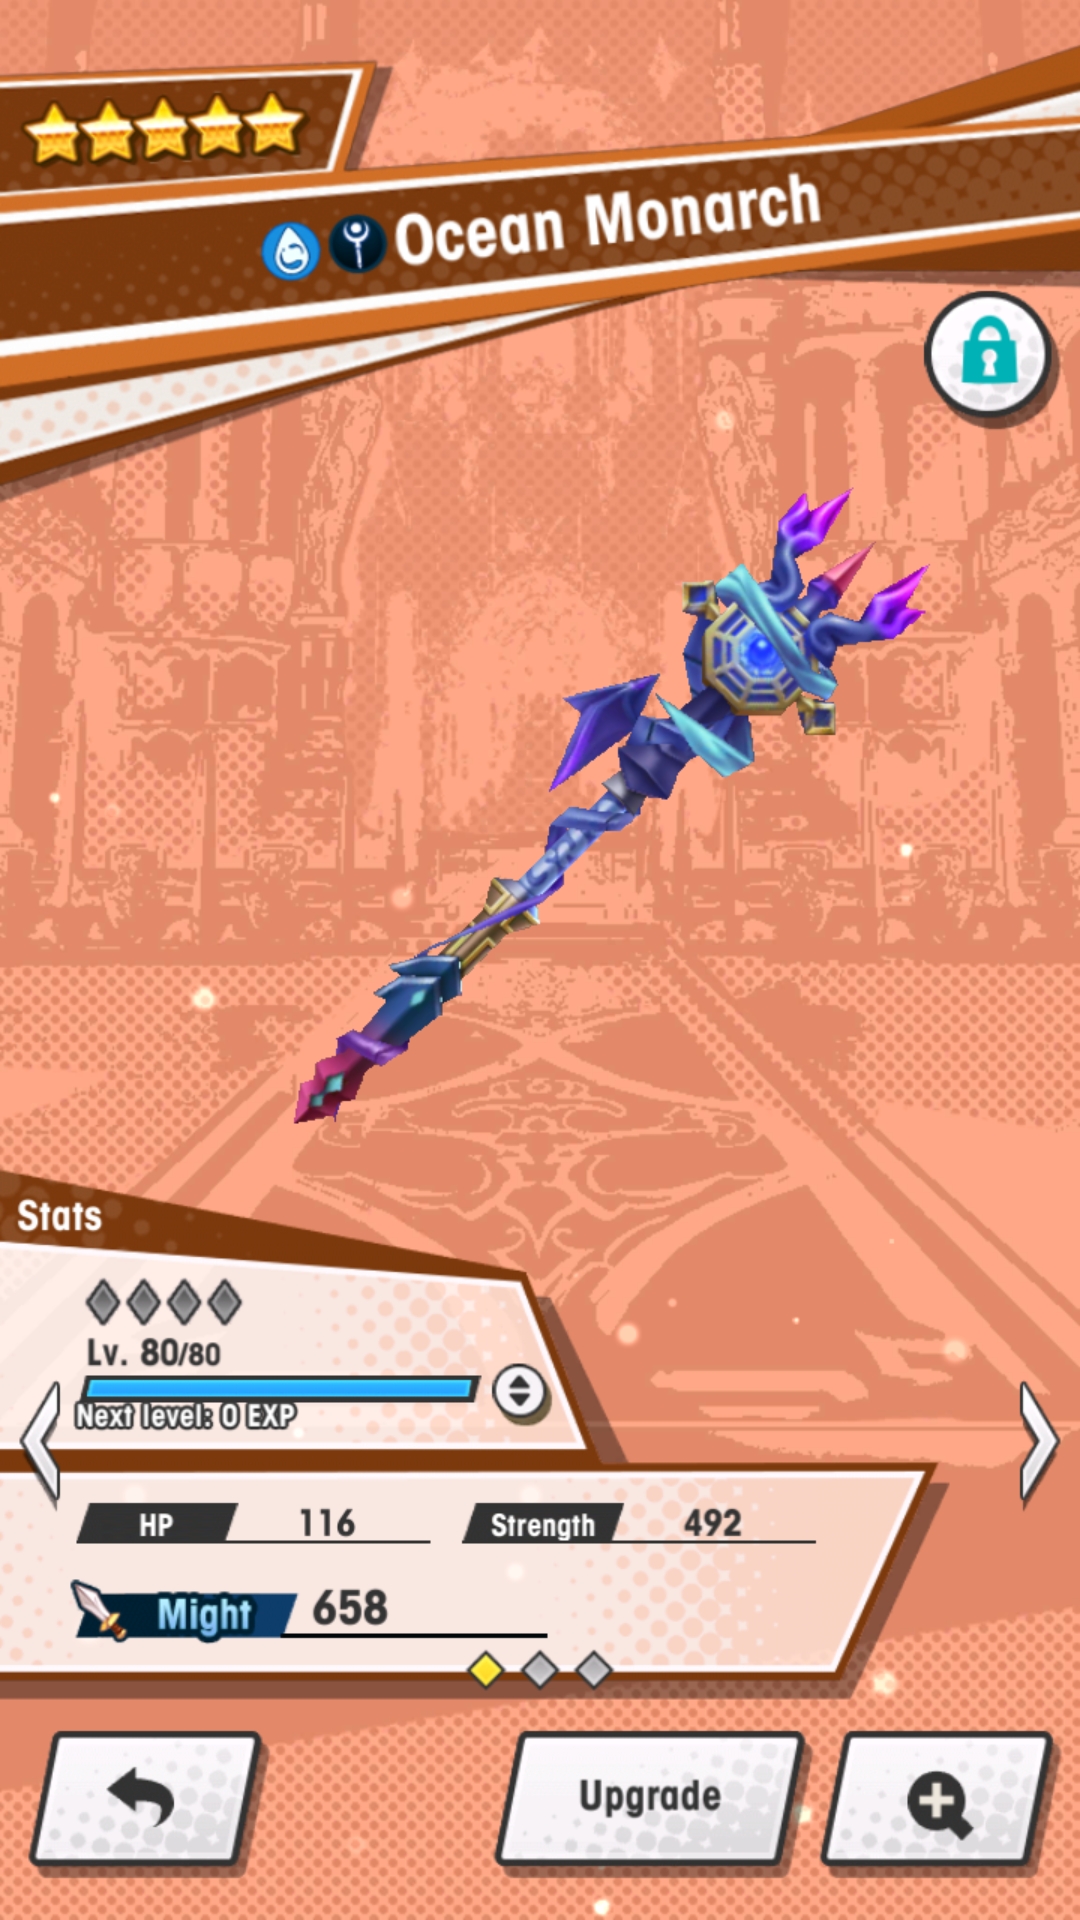
After that, the time it takes to upgrade your Smithy will start to get very long. So you might as well craft 4-star Tier IIs and maybe Tier IIIs while you’re waiting. In fact, a 0 unbound (unmerged) 4-star Tier III is only outperformed by a fully unbound 5-star Tier II and above.
The final thing to note is that 5-star Tier II weapons and above require Twinkling Sand, which is a rare item that’s usually only available as a reward during limited-time events. As such, you’ll want to spend you sand wisely when you reach that stage. If all else fails, you can dismantle weapons to get all the materials back, but it’ll cost you…
3. Plan Around Enemy-inflicted Ailments
Ailments will weaken your Adventurers and prevent them from shape-shifting. Uh oh.
By now, you’ve hopefully got used to deploying Adventurers attuned to the element that trumps the enemies’. That said, as the stages get harder, you may find that simply bringing the correct element isn’t always enough to guarantee victory. Well, if things were that easy, we’d have saved the world by now!
Certain stages–especially boss stages–feature enemies that are prone to inflicting highly debilitating ailments with their attacks. Now, if you’re an action game god, you might be able to dodge all of these attacks. But inevitably you may slip up–and, besides, your AI allies are liable to get hit.
Thankfully, most Adventurers can learn passive abilities that negate or reduce the chance of certain ailments. Before you enter a stage, if you know the ailment in advance, you’d do well to bring along Adventurers that resist said ailment. It’ll make your life that much easier–and who doesn’t want that?
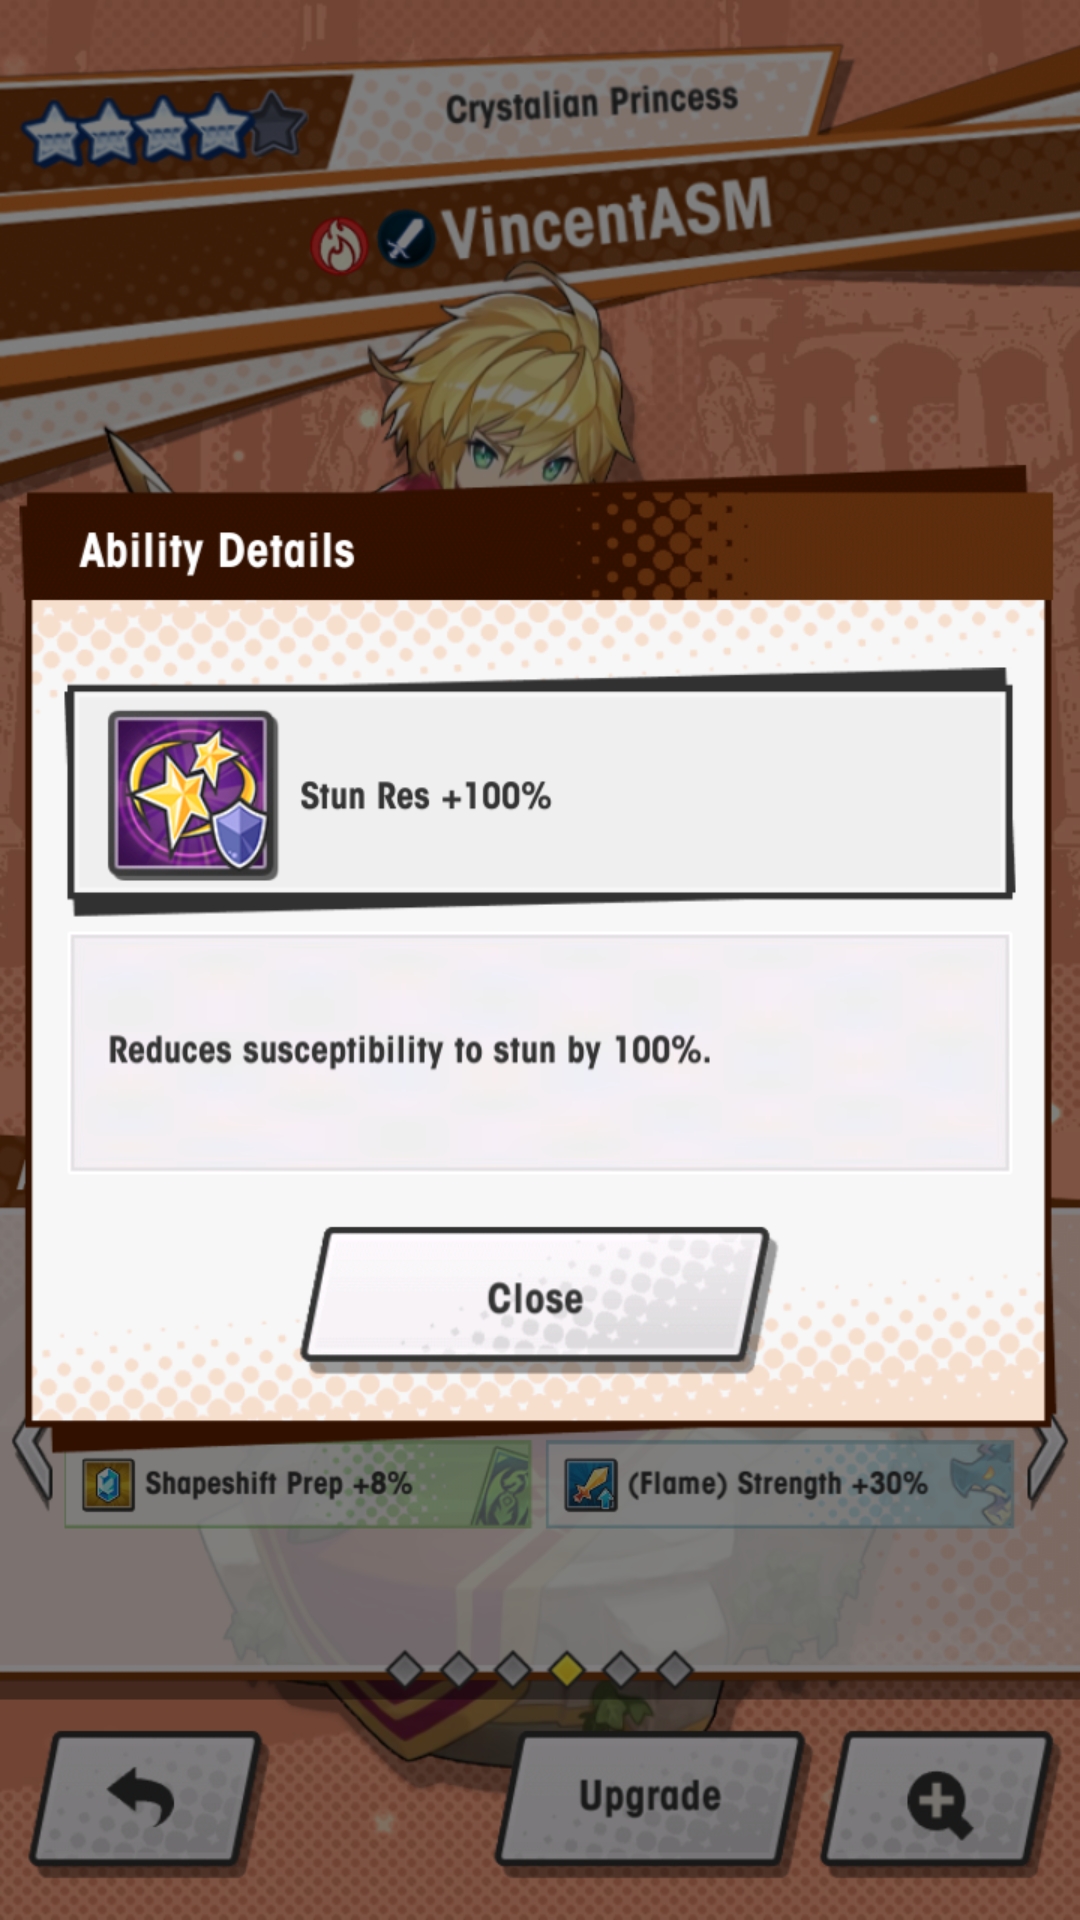
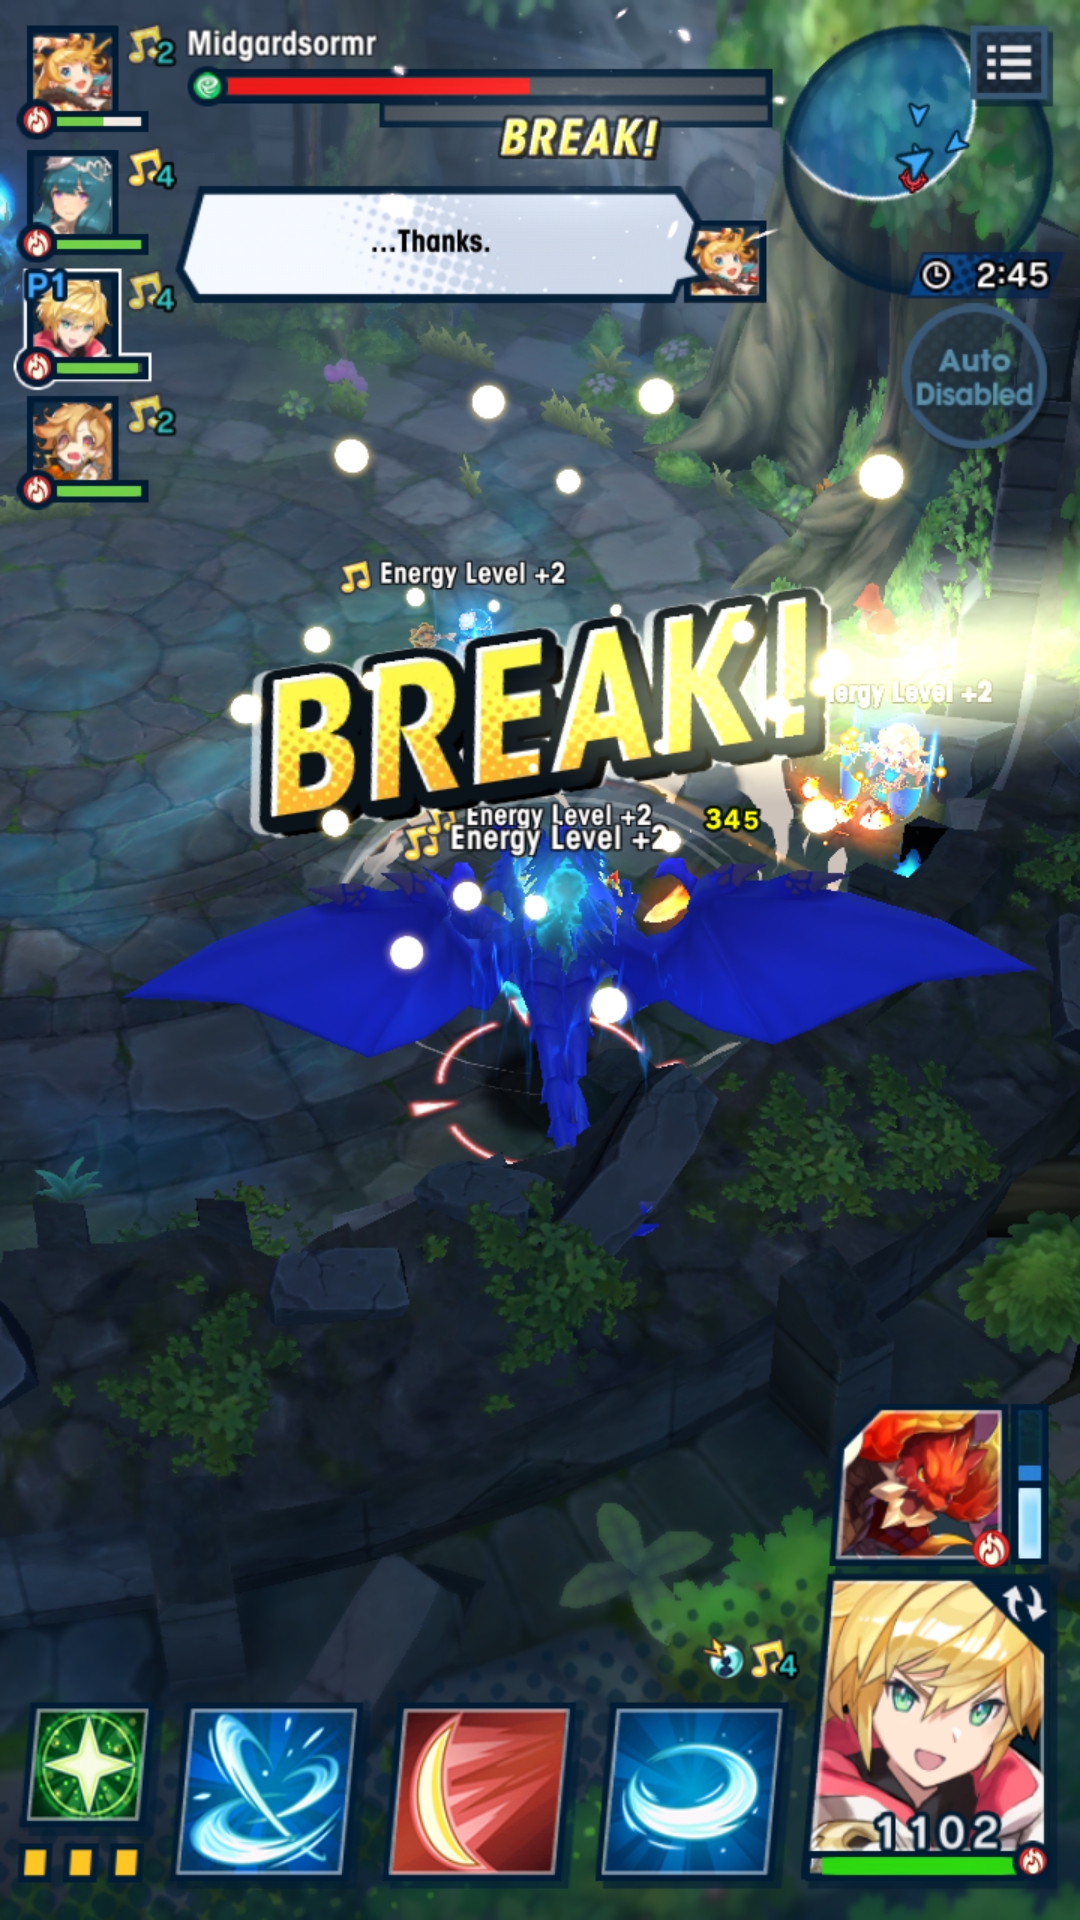
The protagonist can learn Stun Res +100%, which is great against the Windwyrm, Midgardsormr.
As a general rule of thumb, 4-star Adventurers and above (with the exception of most freebie 4-stars) have 100% resistance towards one ailment when upgraded to 31+ Mana Circle nodes. At the time of writing, Gala Sarisse has two 100% resistances, making her a very flexible choice. (Although if you’re reading this, you probably missed your chance to summon her, for now.)
If you don’t have the correct ailment resistance for some reason, it’s not always the end of the world. Ranged characters don’t always need them, since they don’t want to get hit in the first place. Honestly, the only ailment you absolutely want to resist is Freeze and sometimes Stun, since they make you a sitting duck.
Eventually, when you’ve cleared Chapter 7, you’ll also want resistance to Dull Res on melee Adventurers when attempting the Steel Golem and Void Zephyr stages. This ailment doesn’t harm you directly, but it effectively kills runs by greatly weakening your damage output. Don’t be a fool to leave without it!
4. How to Train Your Dragon


Dragons need to eat a lot of fruit, especially at high Levels.
Yes, that was a pointless movie reference. Anyway, Dragons–as you may have surmised–are a pretty important element of Dragalia Lost. So I just wanted to advise you on how to get the most out of your newfound Dragon pals. Some of these details you may already know, but I’ll cover everything just in case…
Dragons you’ve summoned can be leveled up by feeding them Dragonfruit obtained from the Dragontree in your Halidom (and via quests, rewards, etc). If you get duplicate Dragons, you can unbind (merge) them to increase their maximum Level. A fully unbound Dragon (merged with 4 copies) has their attack skill and passive ability improved too.
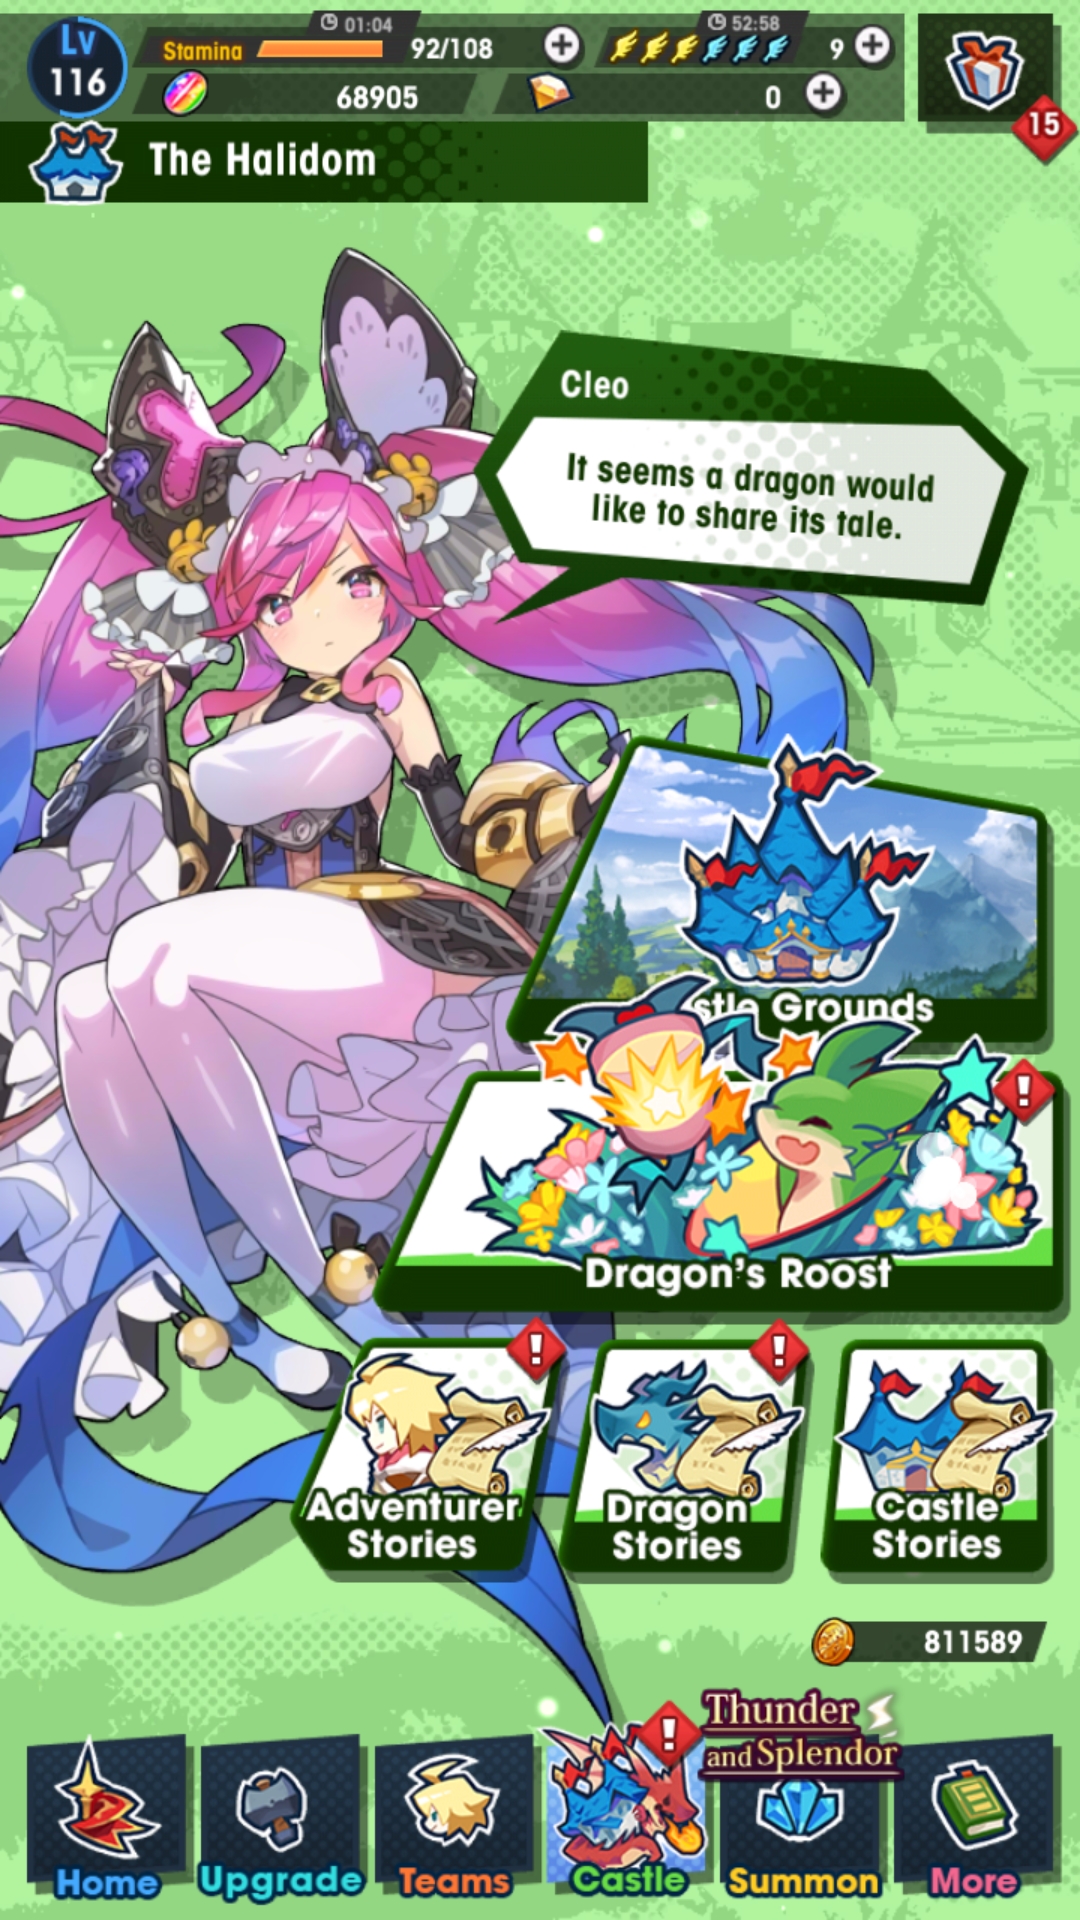
Next, you can feed your Dragons by going to the Dragon’s Roost, via the Castle menu or by selecting the floating island towards the north of the Halidom. The items you can pick are limited to a choice of 5, but are restocked each day. I recommend clearing out the whole list daily, unless you’re low on funds. You can also feed them Four-Leaf Clovers obtained as rare drops etc.
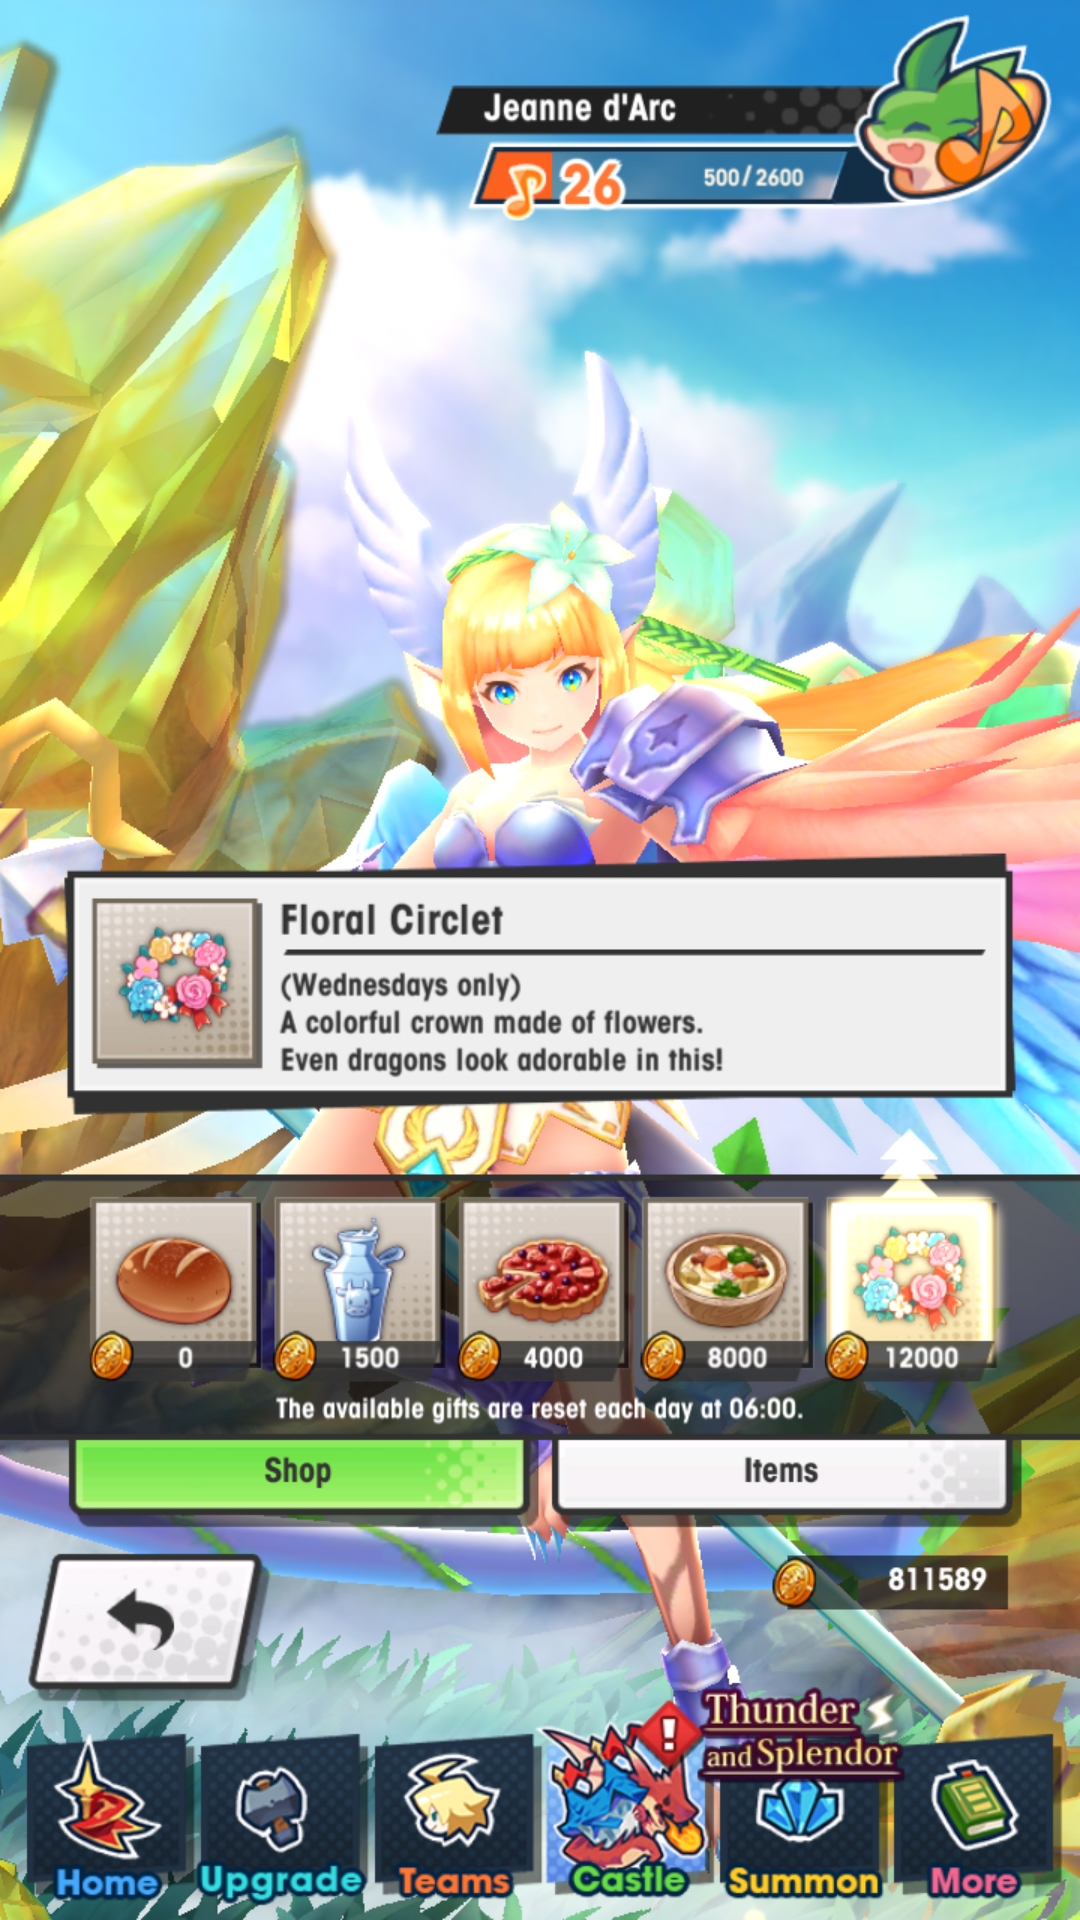
Dragons will also repay you with useful gifts if you feed them.
Feeding a Dragon increases their Bond, which extends the time you’re in Dragon form when shape-shifting. By default, shape-shifting lasts 7 seconds. But at max Bond (Level 30), you can remain as a Dragon for 10 seconds. Now, 3 extra seconds doesn’t sound like a lot, but every little helps! Also, increasing a Dragon’s Bond will increase your Adventurer’s Might value.
Furthermore, when your reach max Bond with a Dragon, they’ll cough up a rare Sunlight Ore. 10 of these can be traded for an even rarer Sunlight Stone, which can unbind a 5-star Dragon by one stage (so it counts as one copy). Be sure to keep at least one copy of every seemingly useless 3-star Dragon, at least until you’ve farmed their precious Sunlight Ore!
By the way, each Dragon has a different most expensive food item (furthest to the right) that they like. This item changes daily, except for the weekend where it’s always a Golden Chalice–which all Dragons are fond of. If you give a Dragon a food item they really like, they’ll gain more Bond experience, speeding up the process. Please check this wiki page for a list of favourites!
5. Don’t Be Shy to Visit the Shop

The shop can be accessed by tapping the swinging shop sign in the home menu.
Yes, this is a gacha game, so the game will sometimes subtly–other times not subtly–prod you in the direction of the in-game shop. Here, you have the option to splurge out real cash for various benefits, like Diamantium–the premium summoning currency that can be used in place of Wyrmite (especially when you run out of the latter).
I’m guessing many of you are pretty smart and will try to avoid spending real money as much as possible. That’s perfectly fine; there are beautiful marine creatures happy to pay Nintendo/Cygames in place of you. One way is to avoid the shop like the plague, but actually you shouldn’t do that, because there are some useful services without spending a penny.
Firstly, if you’re in the habit of doing your daily endeavours, you’ll need to visit the shop anyway to perform the Item Summon. This is done by going to “Upgrade Essentials” near the middle, then selecting the “Item Summon” option. Doing so will give you 10 random items. Each day, it costs nothing the first time, then 50 Wyrmite or Diamantium thereafter.
While you’re in the habit of doing Item Summons, consider scrolling down a bit and purchasing all the Succulent Dragonfruit and Granite/Fiend’s Horn/Ancient Bird’s Feather that are available. The fruit is helpful for leveling up Dragons and is generally in short supply. Meanwhile, the other items are uncommon but required in vast quantities when crafting weapons.
To unlock better rewards, you need to keep playing the game!
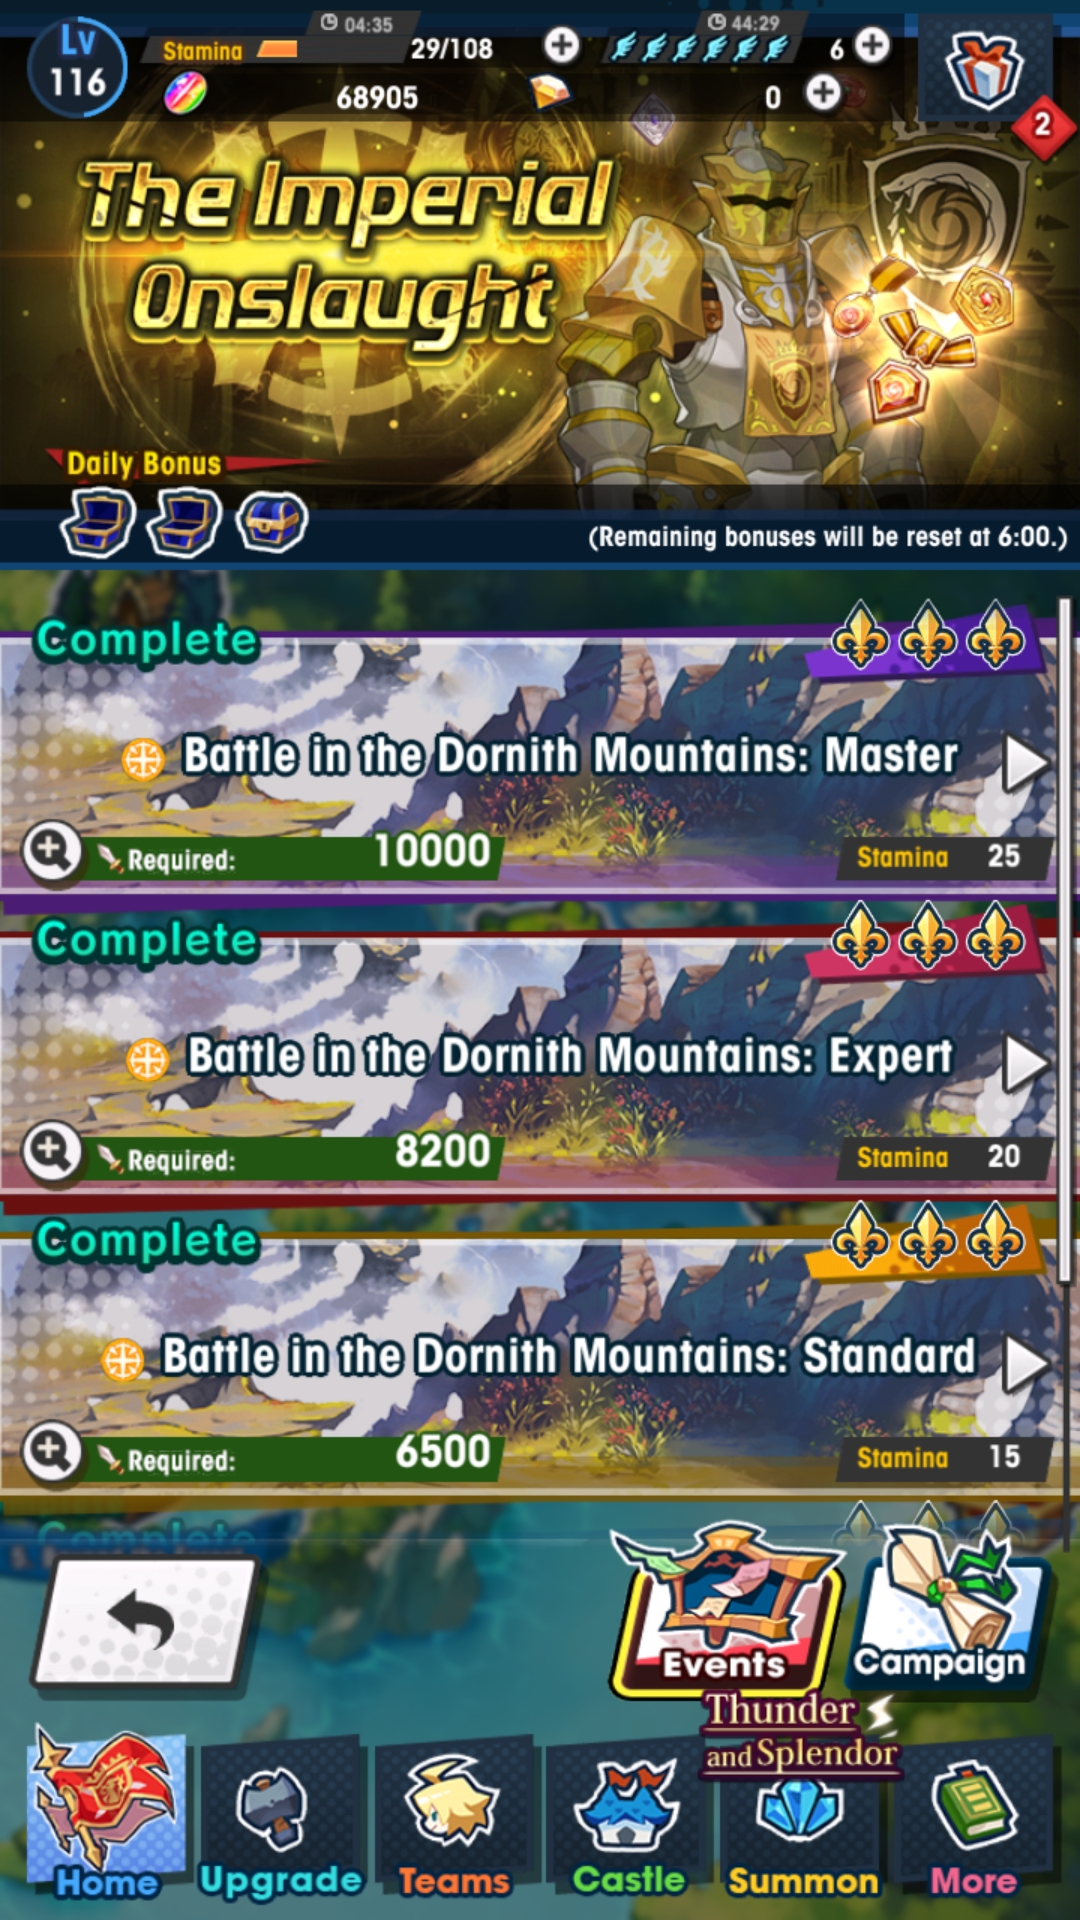
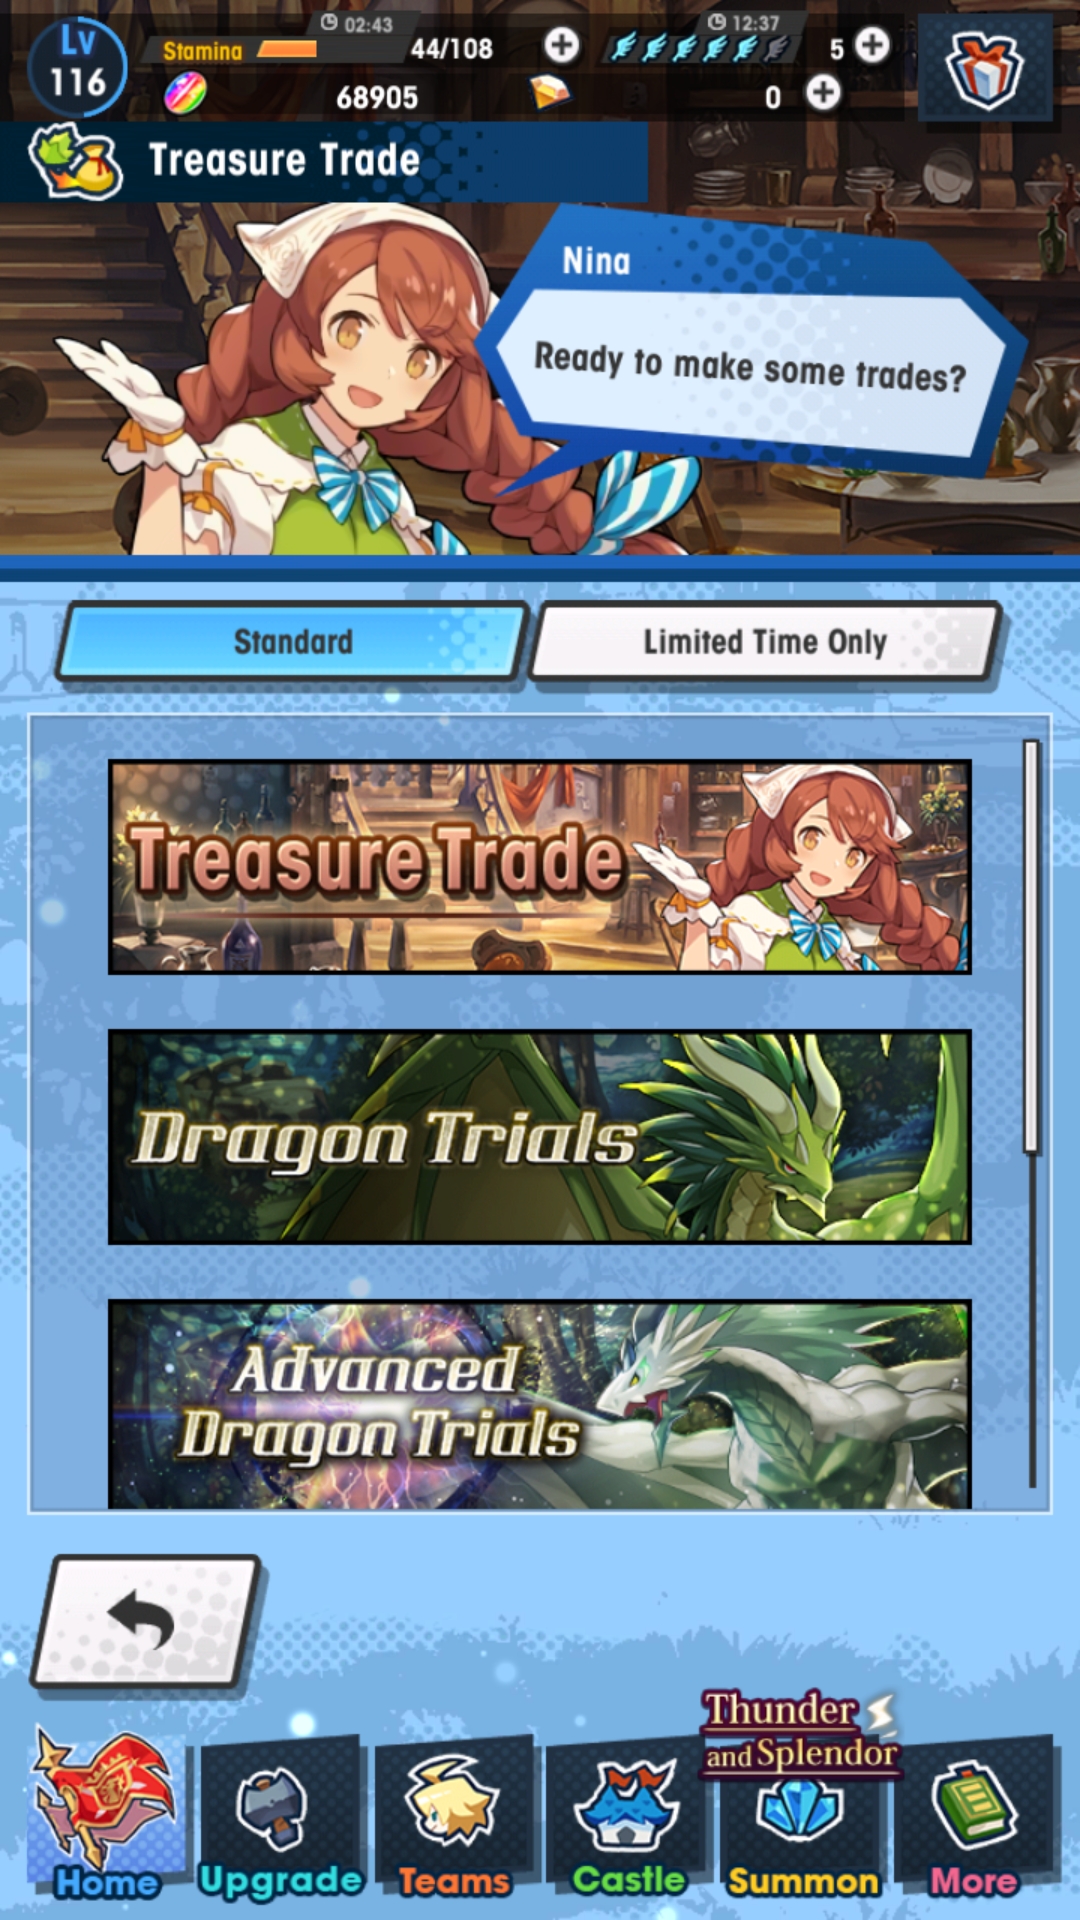
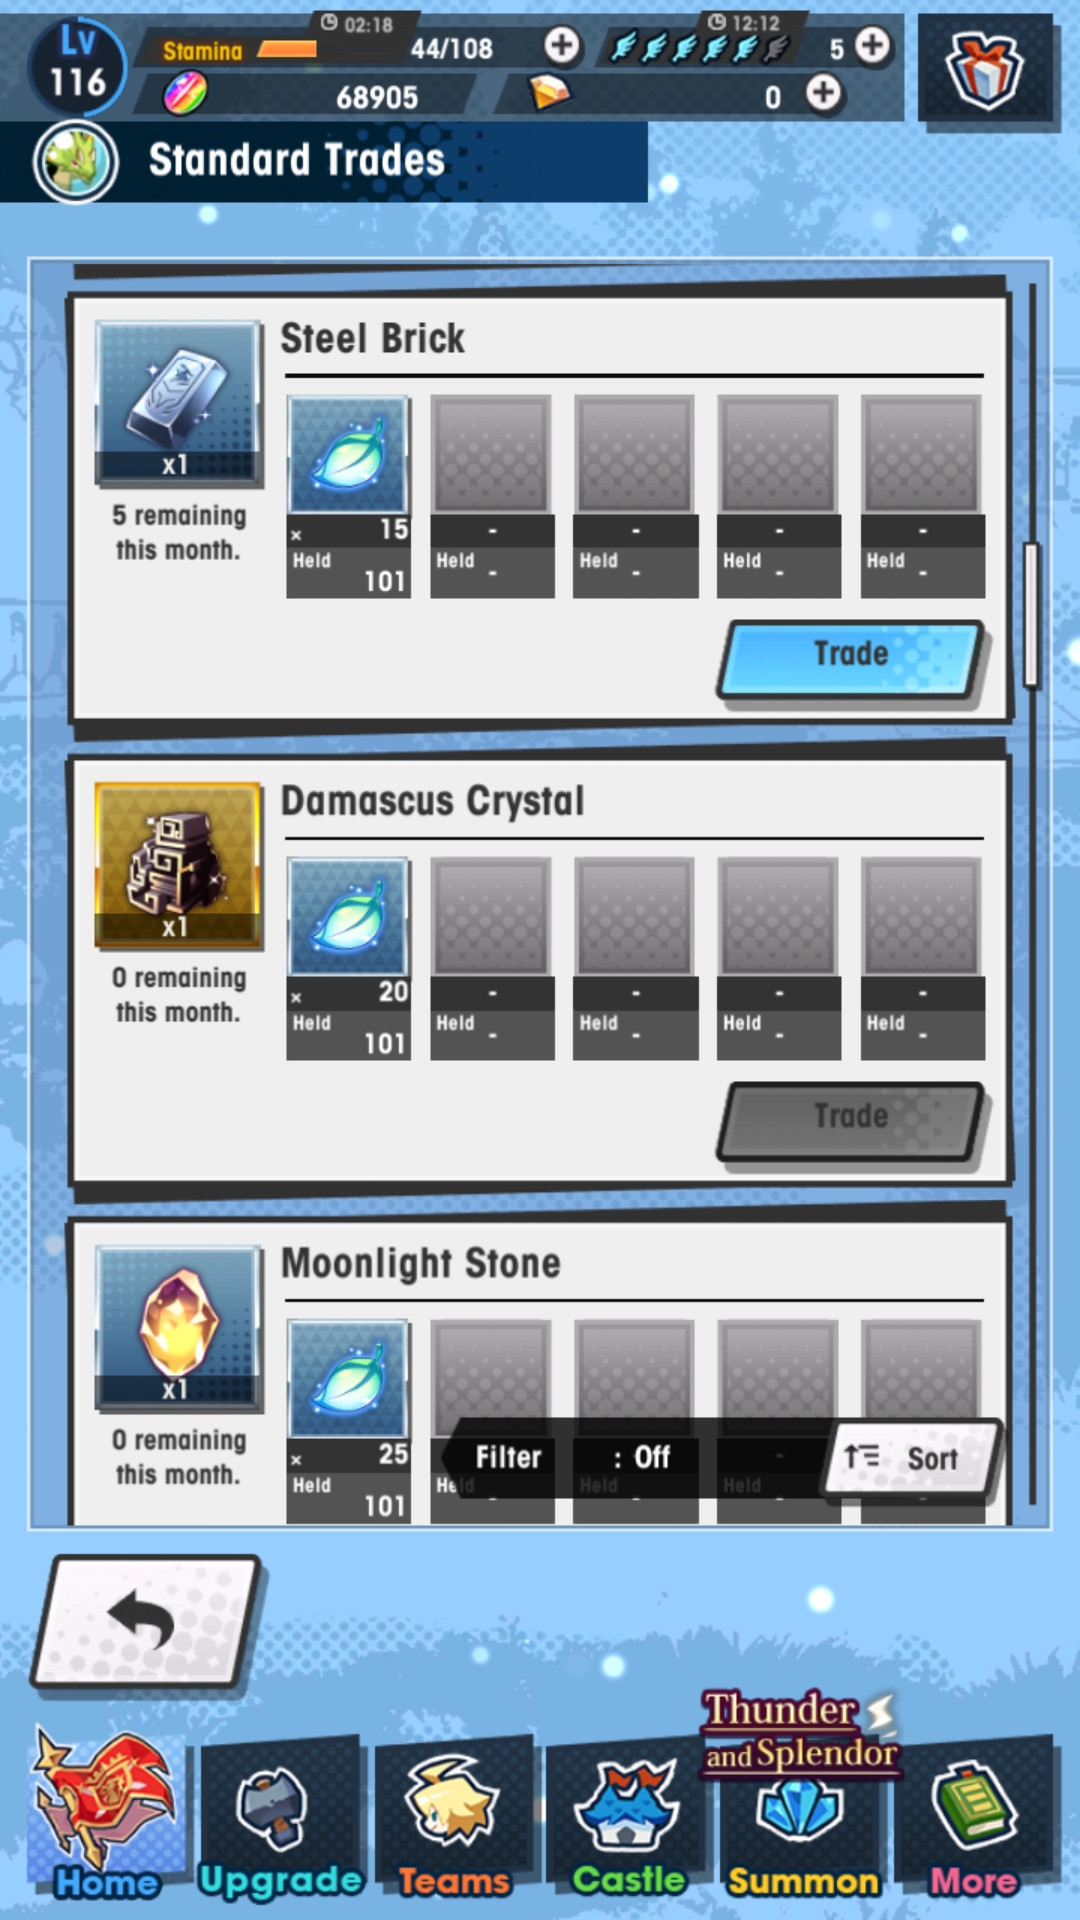
Next, go back a bit and check out the “Treasure Trade”. Here, you can exchange items you’ve obtained for unique rewards or upgraded versions. Of note, after clearing Chapter 6 and unlocking The Imperial Onslaught, you can trade in coins and insignia for valuable Wyrmprints to tackle the Advanced Dragon Trials and facilities for your Halidom.
Likewise, after clearing Chapter 7 and unlocking Void Battles, you can exchange Void Leafs for Steel Bricks, Moonlight Stones, Damascus Crystals, Champion’s Testaments etc. These rewards are immensely useful for upgrading your Adventurers, weapons, Dragons and–even better–they are replenished every month.
Furthermore, by going inside the relevant sections, you can exchange upgrade materials for higher or lower tier versions of the same material. For example, you freely exchange Iron Ore to Granite to Meteorite and backwards. The ratio won’t be 1:1, but it’s generous enough. This is helpful if you’re lacking an uncommon material but have bucket-loads of rares, for example.
In Closing
(Video provided by Raven from Serenes Forest.)
If you’ve managed to read up this point, give yourself a pat on the back. Hopefully you learned some valuable information that will help you turn the tides against the menacing foes that threaten your fair kingdom.
As you continue to progress through the game, you’re bound to hit a few roadblocks here and there. You may even fail at times, but don’t give up easily! Try to team up with other skilled players, upgrade your gear and/or just keep practicing.
Well, that’s about all the information I have to share about the game for now. If anything new pops in my mind, I’ll be sure to rush back here in an instant. Until then, may the Goddess Ilia smile upon you!