Note: Some data is from the official guidebook.
On the world map, after completing Chapter 6, optional battles called skirmishes will start to appear.
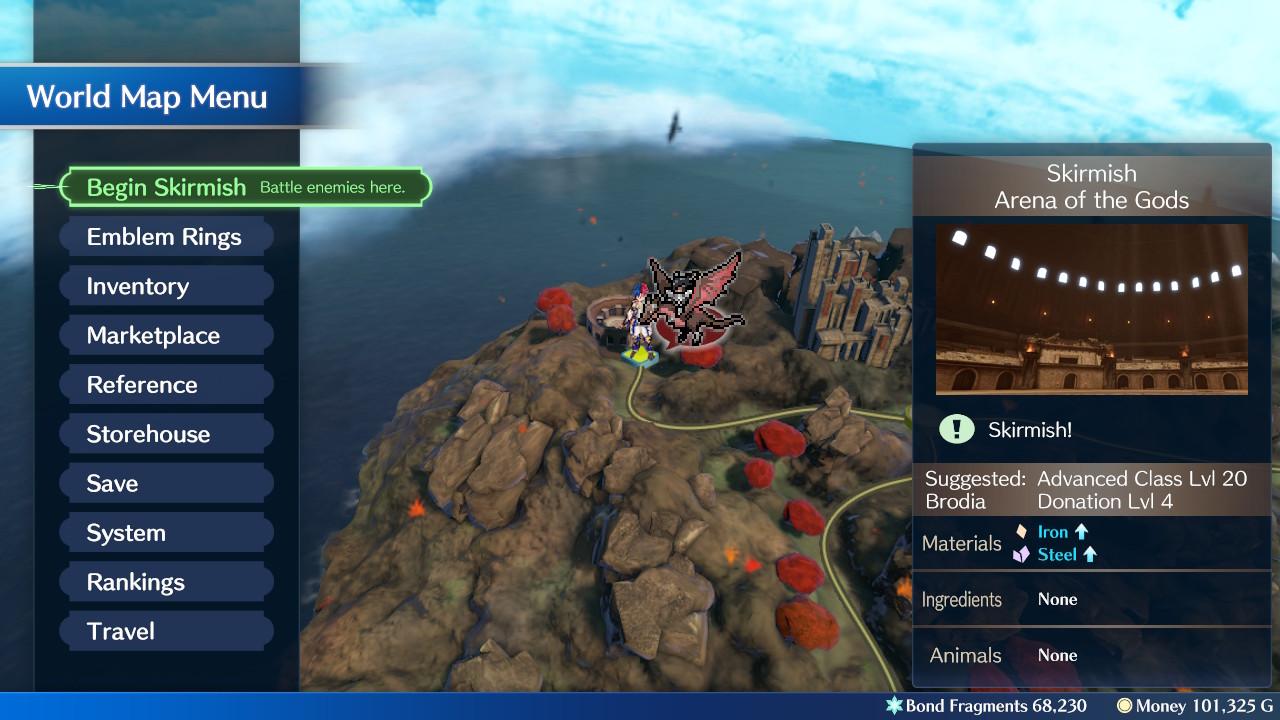
Skirmishes can appear at any location that you’ve already visited on the world map. They are wholly unrelated to the story and give you an opportunity to train your characters, etc. However, be aware that the usual rules of combat apply; if playing Classic, fallen allies will remain dead.
If a skirmish spawns at Firene Castle, Brodia Castle or Solm Palace, it will be treated as “Training” instead. At the end of training, any fallen allies will return. Also, all deployed units that survived will receive 30 experience. Furthermore, you’ll receive 1,000G x the country’s donation level.
Completing a skirmish will allow you to explore the battleground again, useful if you want to adopt any animals or obtain ore, etc.
When you visit the world map, one skirmish will spawn for each of the following conditions:
| Condition | Normal | Hard | Maddening | Postgame (all difficulties) |
|---|---|---|---|---|
| Real time passes (capped at 24 hours) | 3 hours | 3 hours | Never | 3 hours |
| Clear a chapter, paralogue or xenologue | 3 battles | 5 battles | 7 battles | 1 battle |
| Clear a Relay or Outrealm Trial | 3 battles | 3 battles | Never | 3 battles |
| Play Strength Training, Wyvern Ride or Fishing | 5 mini-games | 5 mini-games | Never | 5 mini-games |
For example, if 9 hours have passed since you last visited the world map (Normal/Hard difficulty), 3 skirmishes will spawn.
Note: Depending on your progress, there may be a cap on the number of skirmishes. The maximum number of skirmishes is 10.
Skirmish Levels
Each skirmish has a recommended Level.
The recommended Level for a skirmish is equivalent* to the Level of enemies you’ll face in the skirmish. Bosses are 5 Levels higher.
* If the recommended Level is Advanced Level 20, be wary because enemies can continue to increase their Level beyond 20, but it will not display in their status screen. The only way to check is to look at their stats.
| The game calculates the recommended Level by averaging the Levels of your X highest Level characters, then adding 2. Where X = the max number of deployment slots on the map. This includes any Internal Levels gained. |
For example, if the map lets you deploy 10 units and your 10 highest Level characters are 15, 13, 12, 12, 10, 10, 8, 8, 7, 5, then the recommended Level will be (100 / 10) + 2 = 12.
Notes:
- Value is approximate; there seems to be some weird rounding for multiples of 0.5.
- Does not apply to skirmishes at the Divine Paralogues or Fell Xenologues; the recommended Levels appear to be random.
- Vander is excluded from the average Level calculations if you have 3 or less promoted class characters (Vander included). Once you have 4 or more, Vander will always be included, even if you reclass some characters down.
- If you have less characters than the max deployment slots, missing characters are treated as Level 0.
Internal Level: When a character changes class with a Master Seal or Second Seal, all of their gained Levels are added to their Internal Level.
(For Special classes like Dancer, because they reset to Level 21 instead, only the Levels past 21 are added to their Internal Level.)
Eg. if Alear changes class from Dragon Child to Divine Dragon or Sword Fighter at Level 20, they will gain 19 to their Internal Level, before resetting to Level 1. Their “true” Level is thus 1 (displayed Level) + 19 (Internal Level) = 20.
Internal Level is capped at 30 for Normal difficulty, 40 for Hard difficulty and 50 for Maddening difficulty. If in a Special class, the cap is temporarily reduced by 20.
Characters who begin in promoted classes have the following internal Levels:
- Vander, Kagetsu, Pandreo and Bunet: 15
- Rosado and Goldmary: 17
- Lindon: 18
- Saphir: 19
- Mauvier, Gregory and Madeline: 20
Enemy Equipment/Skills
| Level | Type of Weapon |
|---|---|
| 1~8 | Iron (100%) |
| 9~12 | Iron (50%), Steel (50%) |
| 13~16 | Steel (100%) |
| 17~18 | Steel (50%), Silver (50%) |
| 19~26 | Silver (100%) |
| 27+ | Silver (80%), Brave (20%) |
Note: In addition, lance and axe-wielding foes that are Level 5+ have a 20% chance of wielding ranged weapons.
| Type of Weapon | Weapons |
|---|---|
| Iron | Iron Sword, Iron Lance, Iron Axe, Iron Bow, Iron Dagger, Fire, Thunder, Iron-Body Art |
| Steel | Steel Sword, Steel Lance, Steel Axe, Steel Bow, Steel Dagger, Wind, Elsurge, Elfire, Steel-Hand Art |
| Silver | Silver Sword, Silver Lance, Silver Axe, Silver Bow, Silver Dagger, Elthunder, Elwind, Silver-Spirit Art |
| Brave | Brave Sword, Brave Lance, Brave Axe, Brave Bow |
| Ranged | Javelin (Level 5~11), Spear (Level 12+), Hand Axe (Level 5~11), Tomahawk (Level 12+) |
If playing on Maddening difficulty, foes that are Level 5+ in promoted classes (or 25+ in Special classes) have a 20% chance of having a unique class skill.
Rare Enemies
Depending on your donations to each country, there’s a chance of encountering rare Gold or Silver Corrupted during skirmishes.
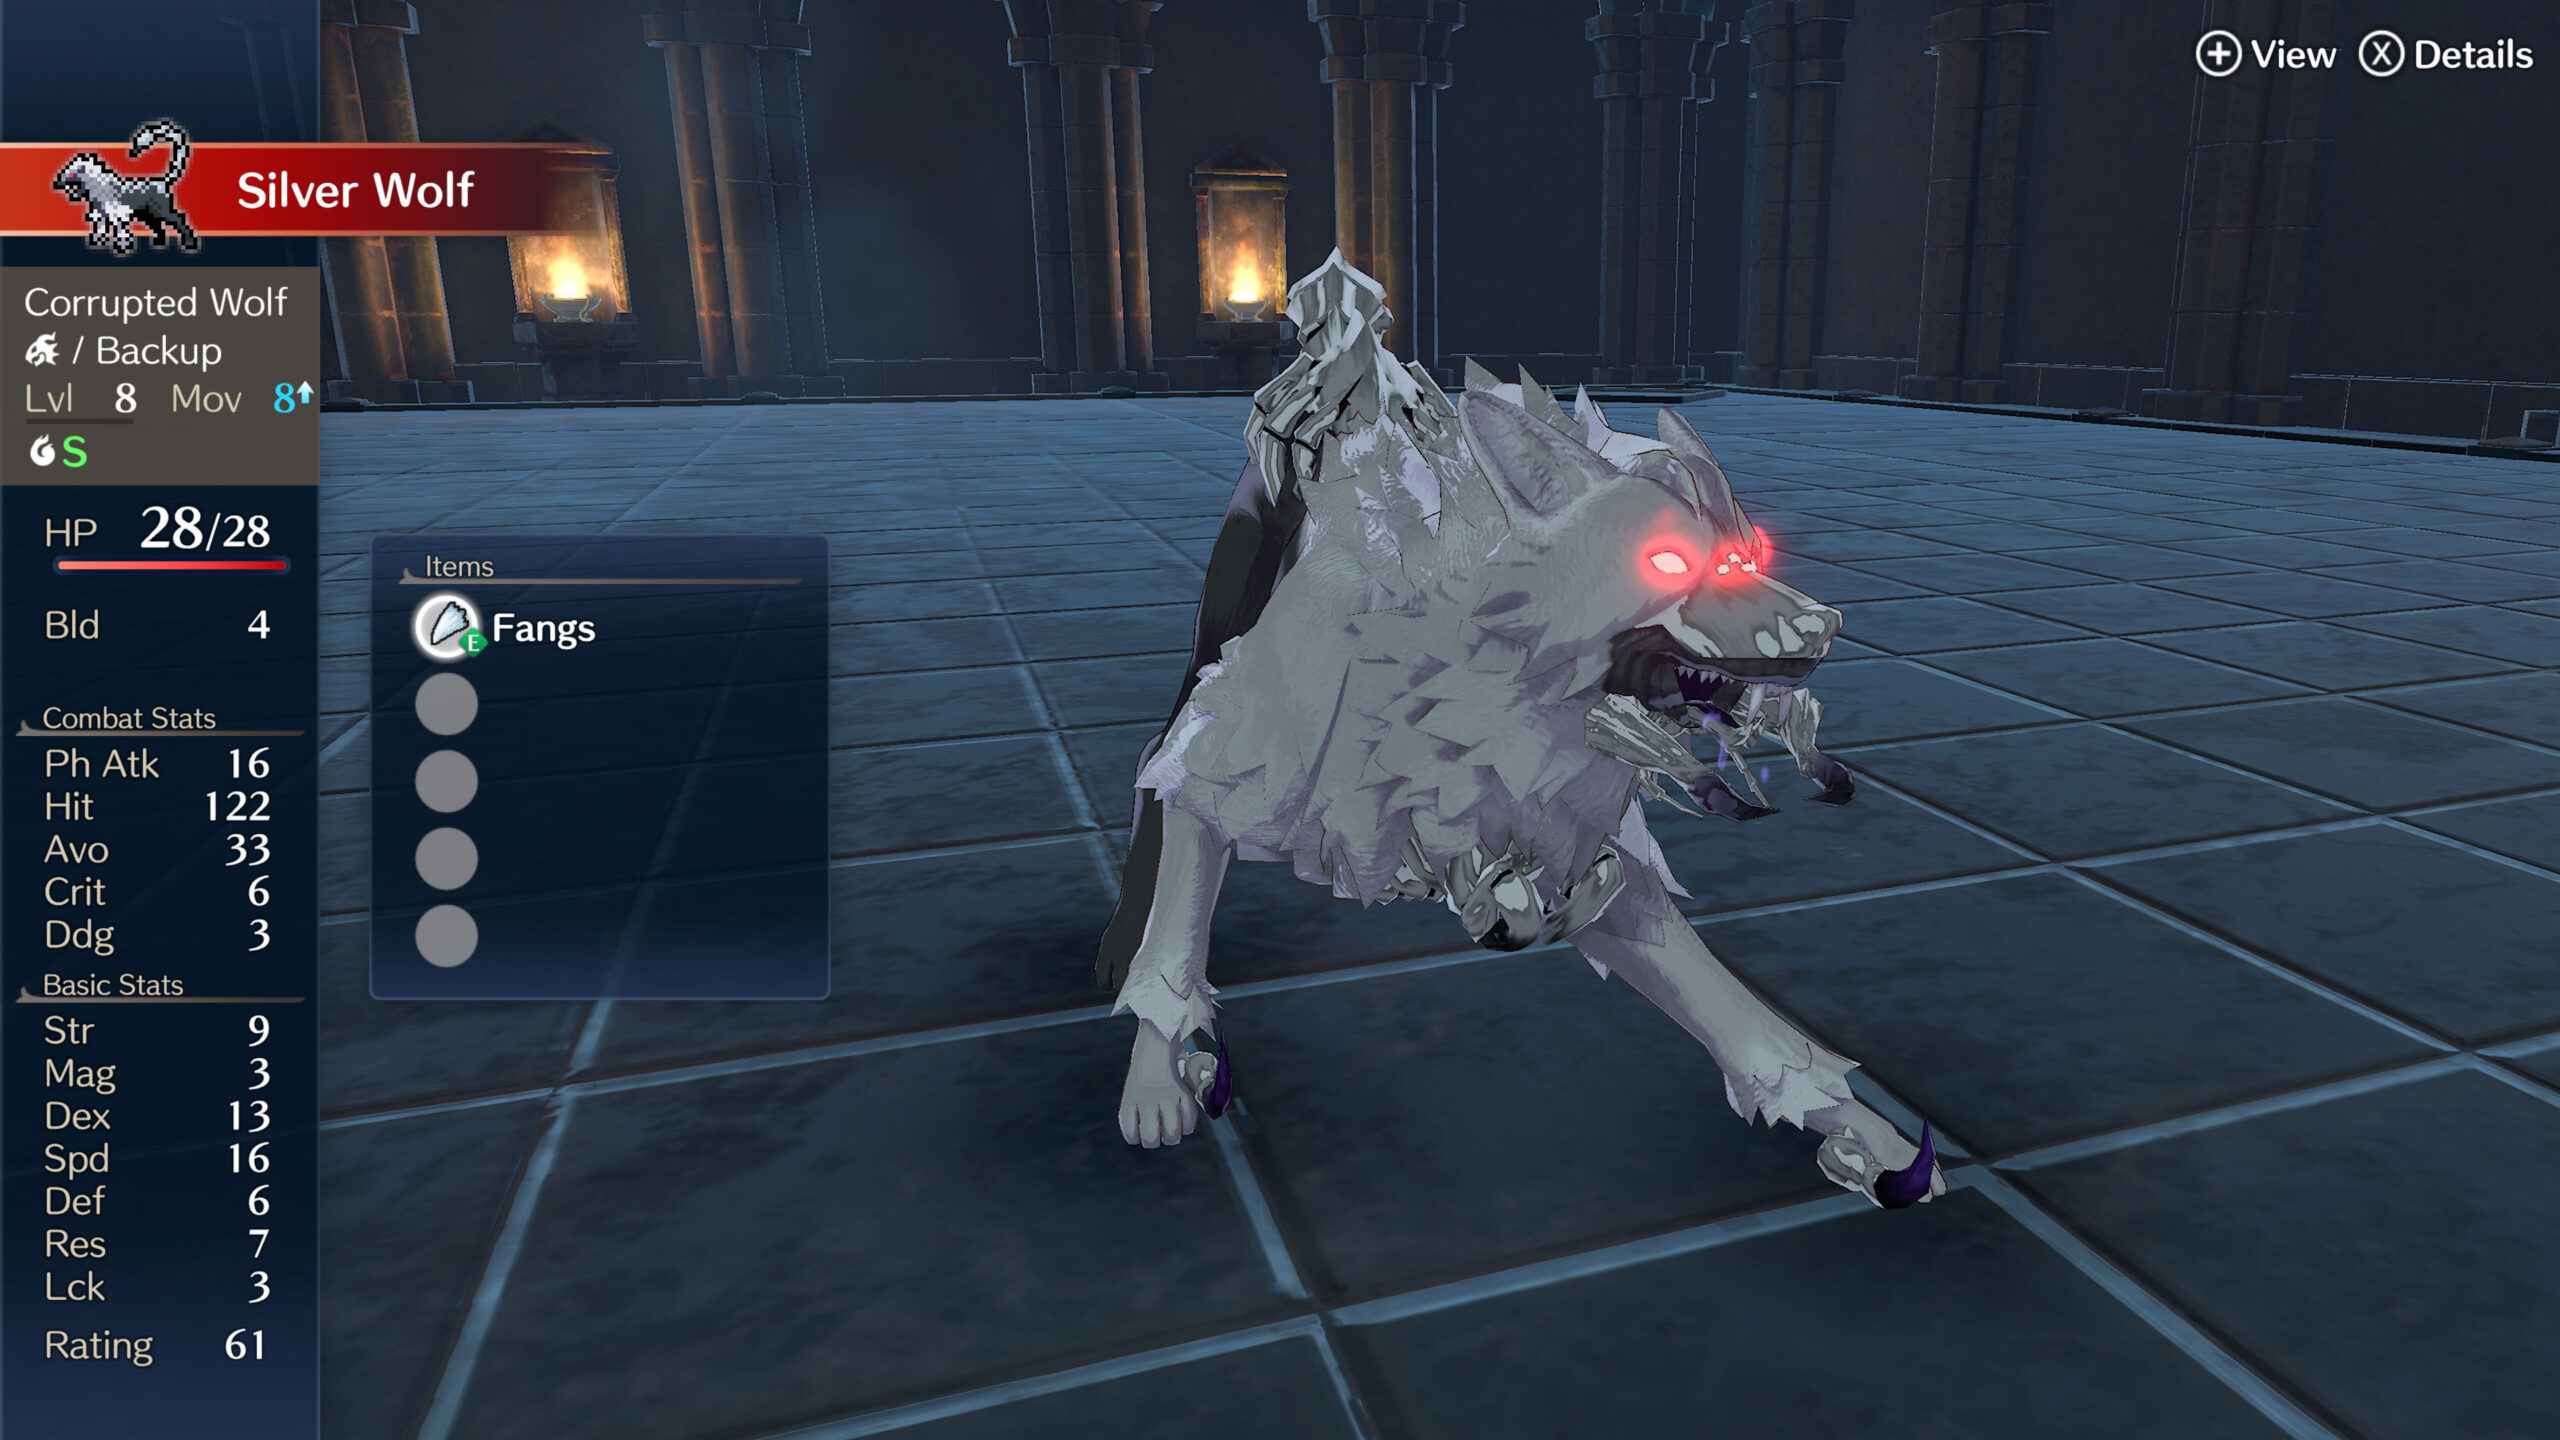
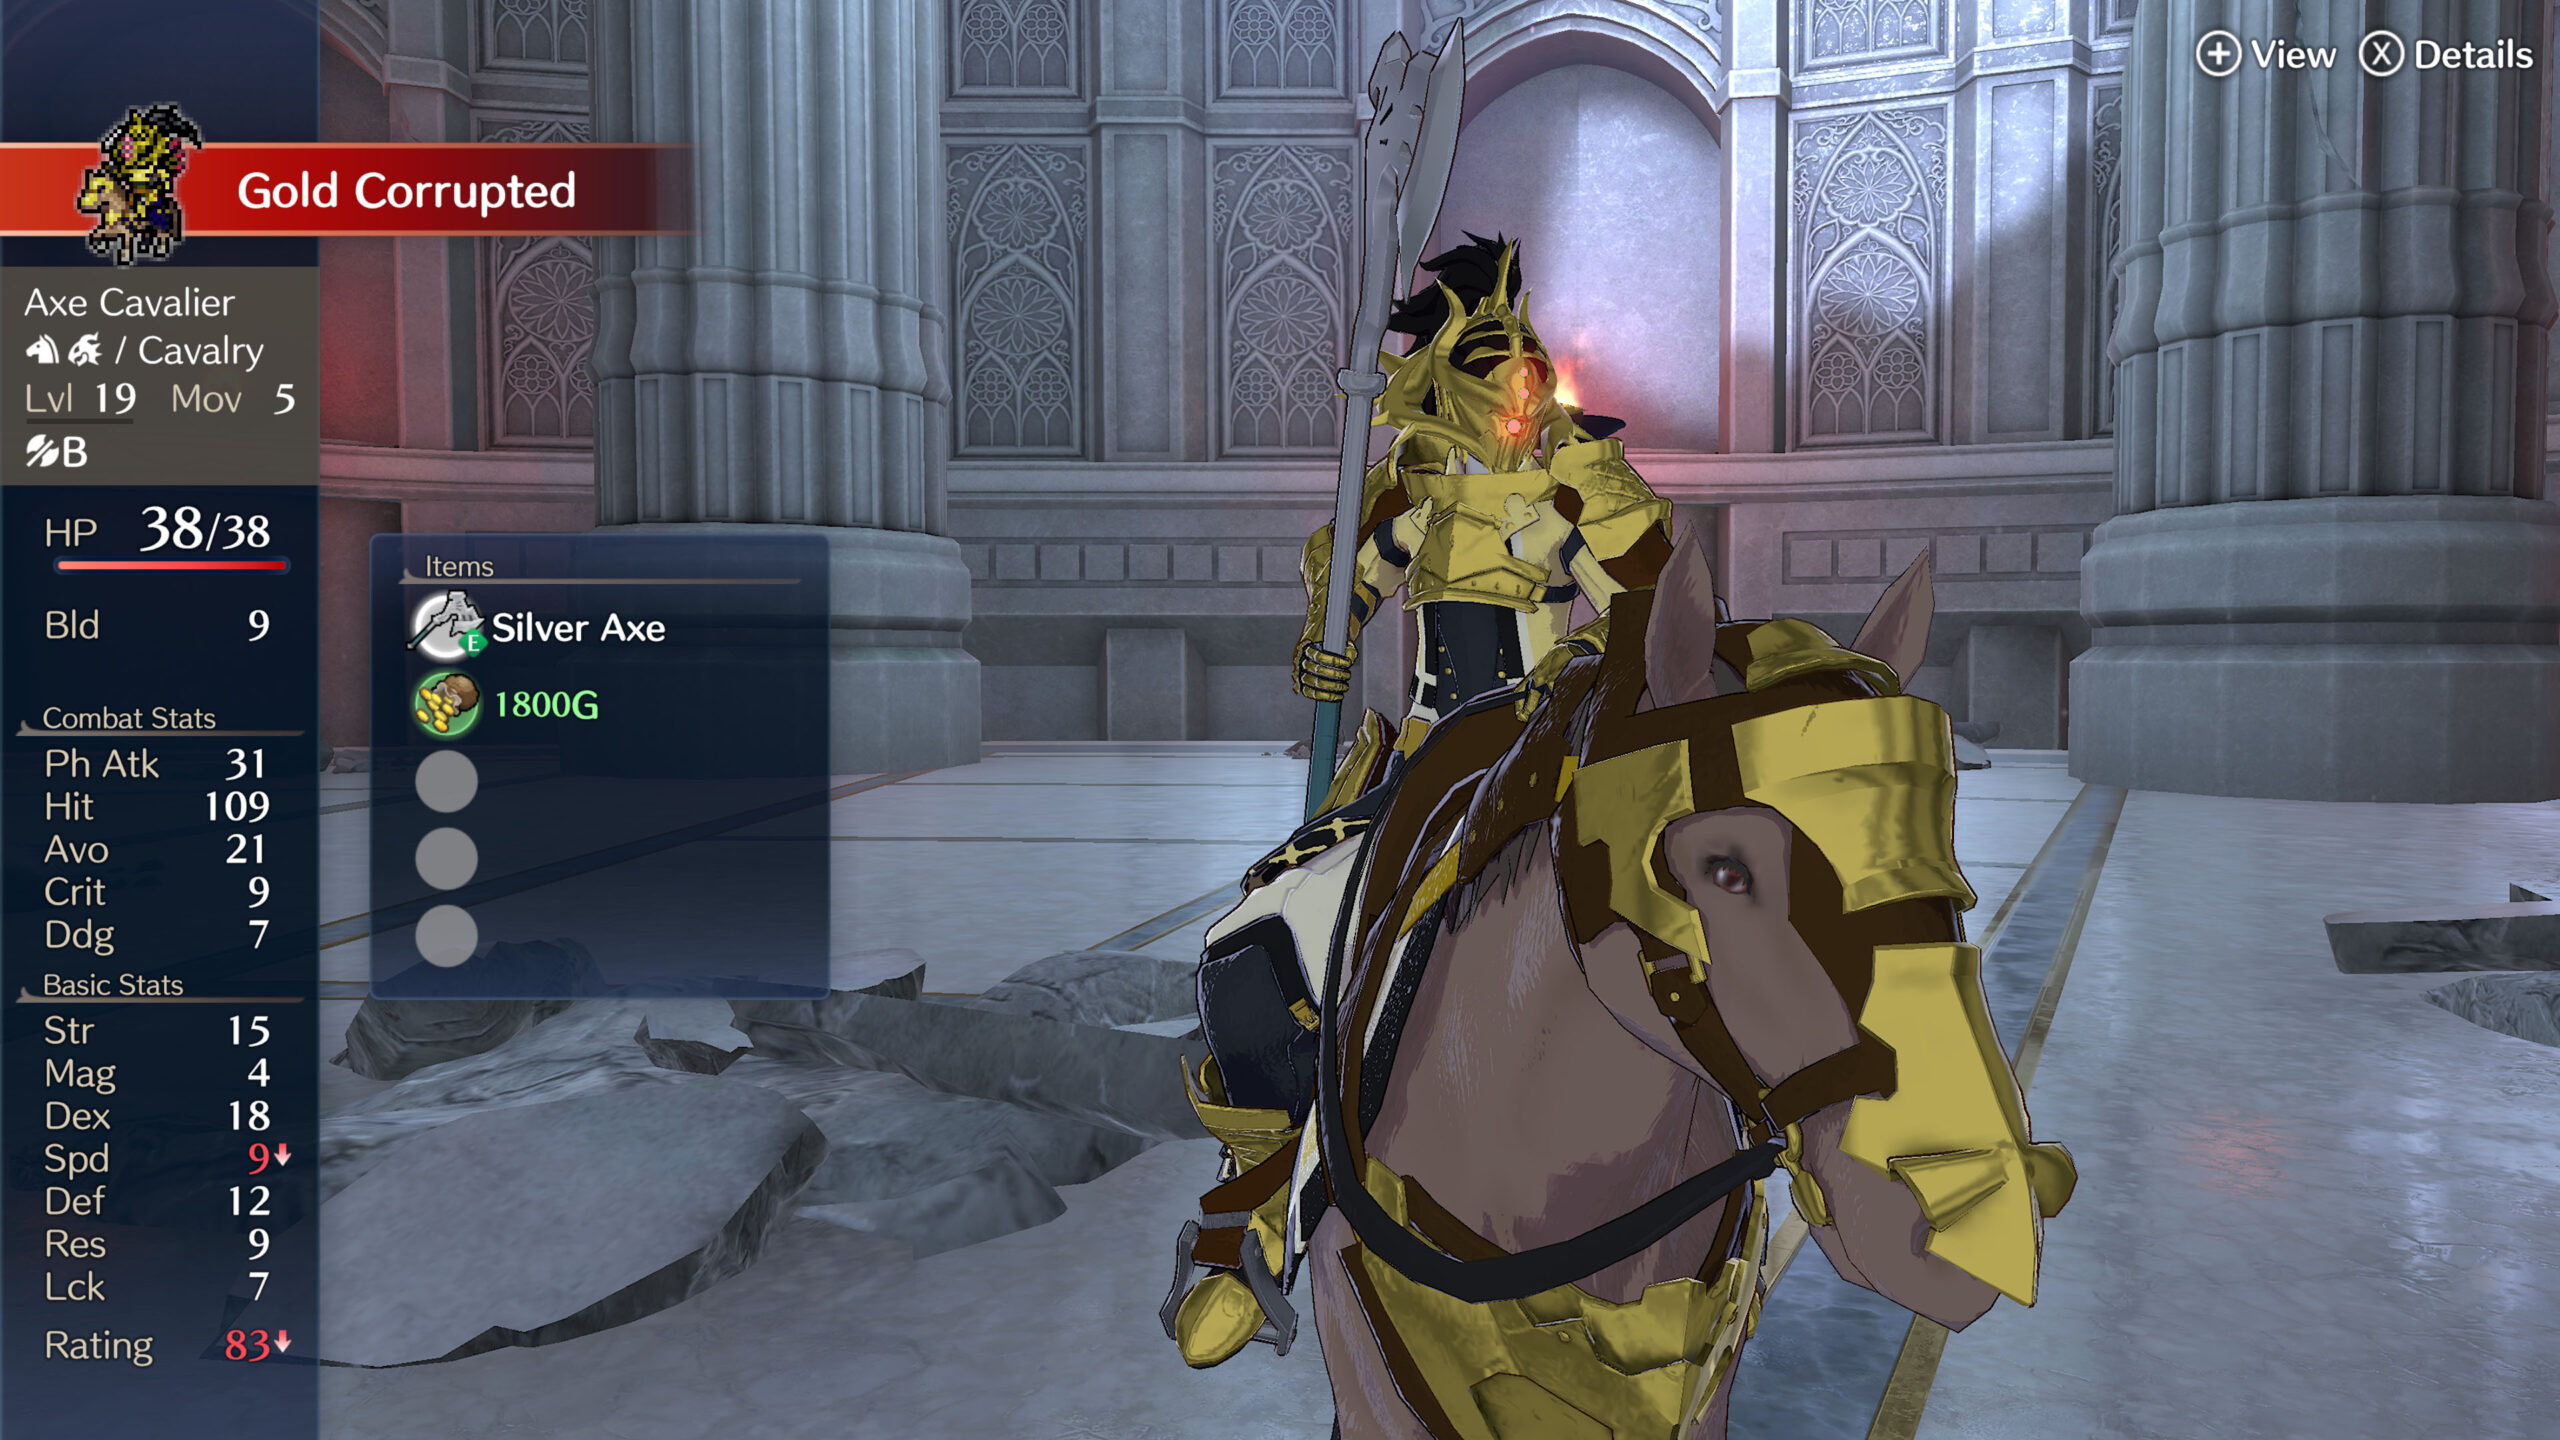
Gold Corrupted drop money, while Silver Corrupted yield more experience when defeated.
In addition, if rare enemies spawn on certain maps, Fog of War will be triggered:
- Chapters: Mountain Settlement, Destinea Cathedral, Shadowy Moor, Oasis Village, Elusia Castle
- Paralogues: Dark Ruins
- Divine Paralogues: Underground Passage
- Fell Xenologue: Bracelet Altar
Firene
| Rare Enemy | Level 1 | Level 2 | Level 3 | Level 4 | Level 5 |
|---|---|---|---|---|---|
| Gold Corrupted | 20% | 20% | 30% | 30% | 40% |
| Silver Corrupted | 10% | 10% | 20% | 20% | 30% |
Brodia
| Rare Enemy | Level 1 | Level 2 | Level 3 | Level 4 | Level 5 |
|---|---|---|---|---|---|
| Gold Corrupted | 10% | 10% | 20% | 20% | 30% |
| Silver Corrupted | 20% | 20% | 30% | 30% | 40% |
Elusia
| Rare Enemy | Level 1 | Level 2 | Level 3 | Level 4 | Level 5 |
|---|---|---|---|---|---|
| Gold Corrupted | 30% | 40% | 50% | 60% | 70% |
| Silver Corrupted | 20% | 20% | 20% | 20% | 20% |
Solm
| Rare Enemy | Level 1 | Level 2 | Level 3 | Level 4 | Level 5 |
|---|---|---|---|---|---|
| Gold Corrupted | 20% | 20% | 20% | 20% | 20% |
| Silver Corrupted | 30% | 40% | 50% | 60% | 70% |
Skirmishes in Divine Paralogue maps have a 100% chance of Silver Corrupted and 0% chance of Gold Corrupted. Conversely, Fell Xenologue maps have a 100% chance of Gold Corrupted and 0% chance of Silver Corrupted.
Furthermore, the number of rare enemies on the map also depends on the donation level.
| Donation Lv | 1 foe | 2 foes | 3 foes | All foes |
|---|---|---|---|---|
| 1 | 100% | – | – | – |
| 2 | 50% | 50% | – | – |
| 3 | 30% | 70% | – | – |
| 4 | 10% | 80% | 10% | – |
| 5 | – | 60% | 40% | – |
| 5 (postgame) | – | 60% | 39.99% | 0.01% |
Finally, the amount of money dropped by Gold Corrupted also depends on the donation level, as well as difficulty level.
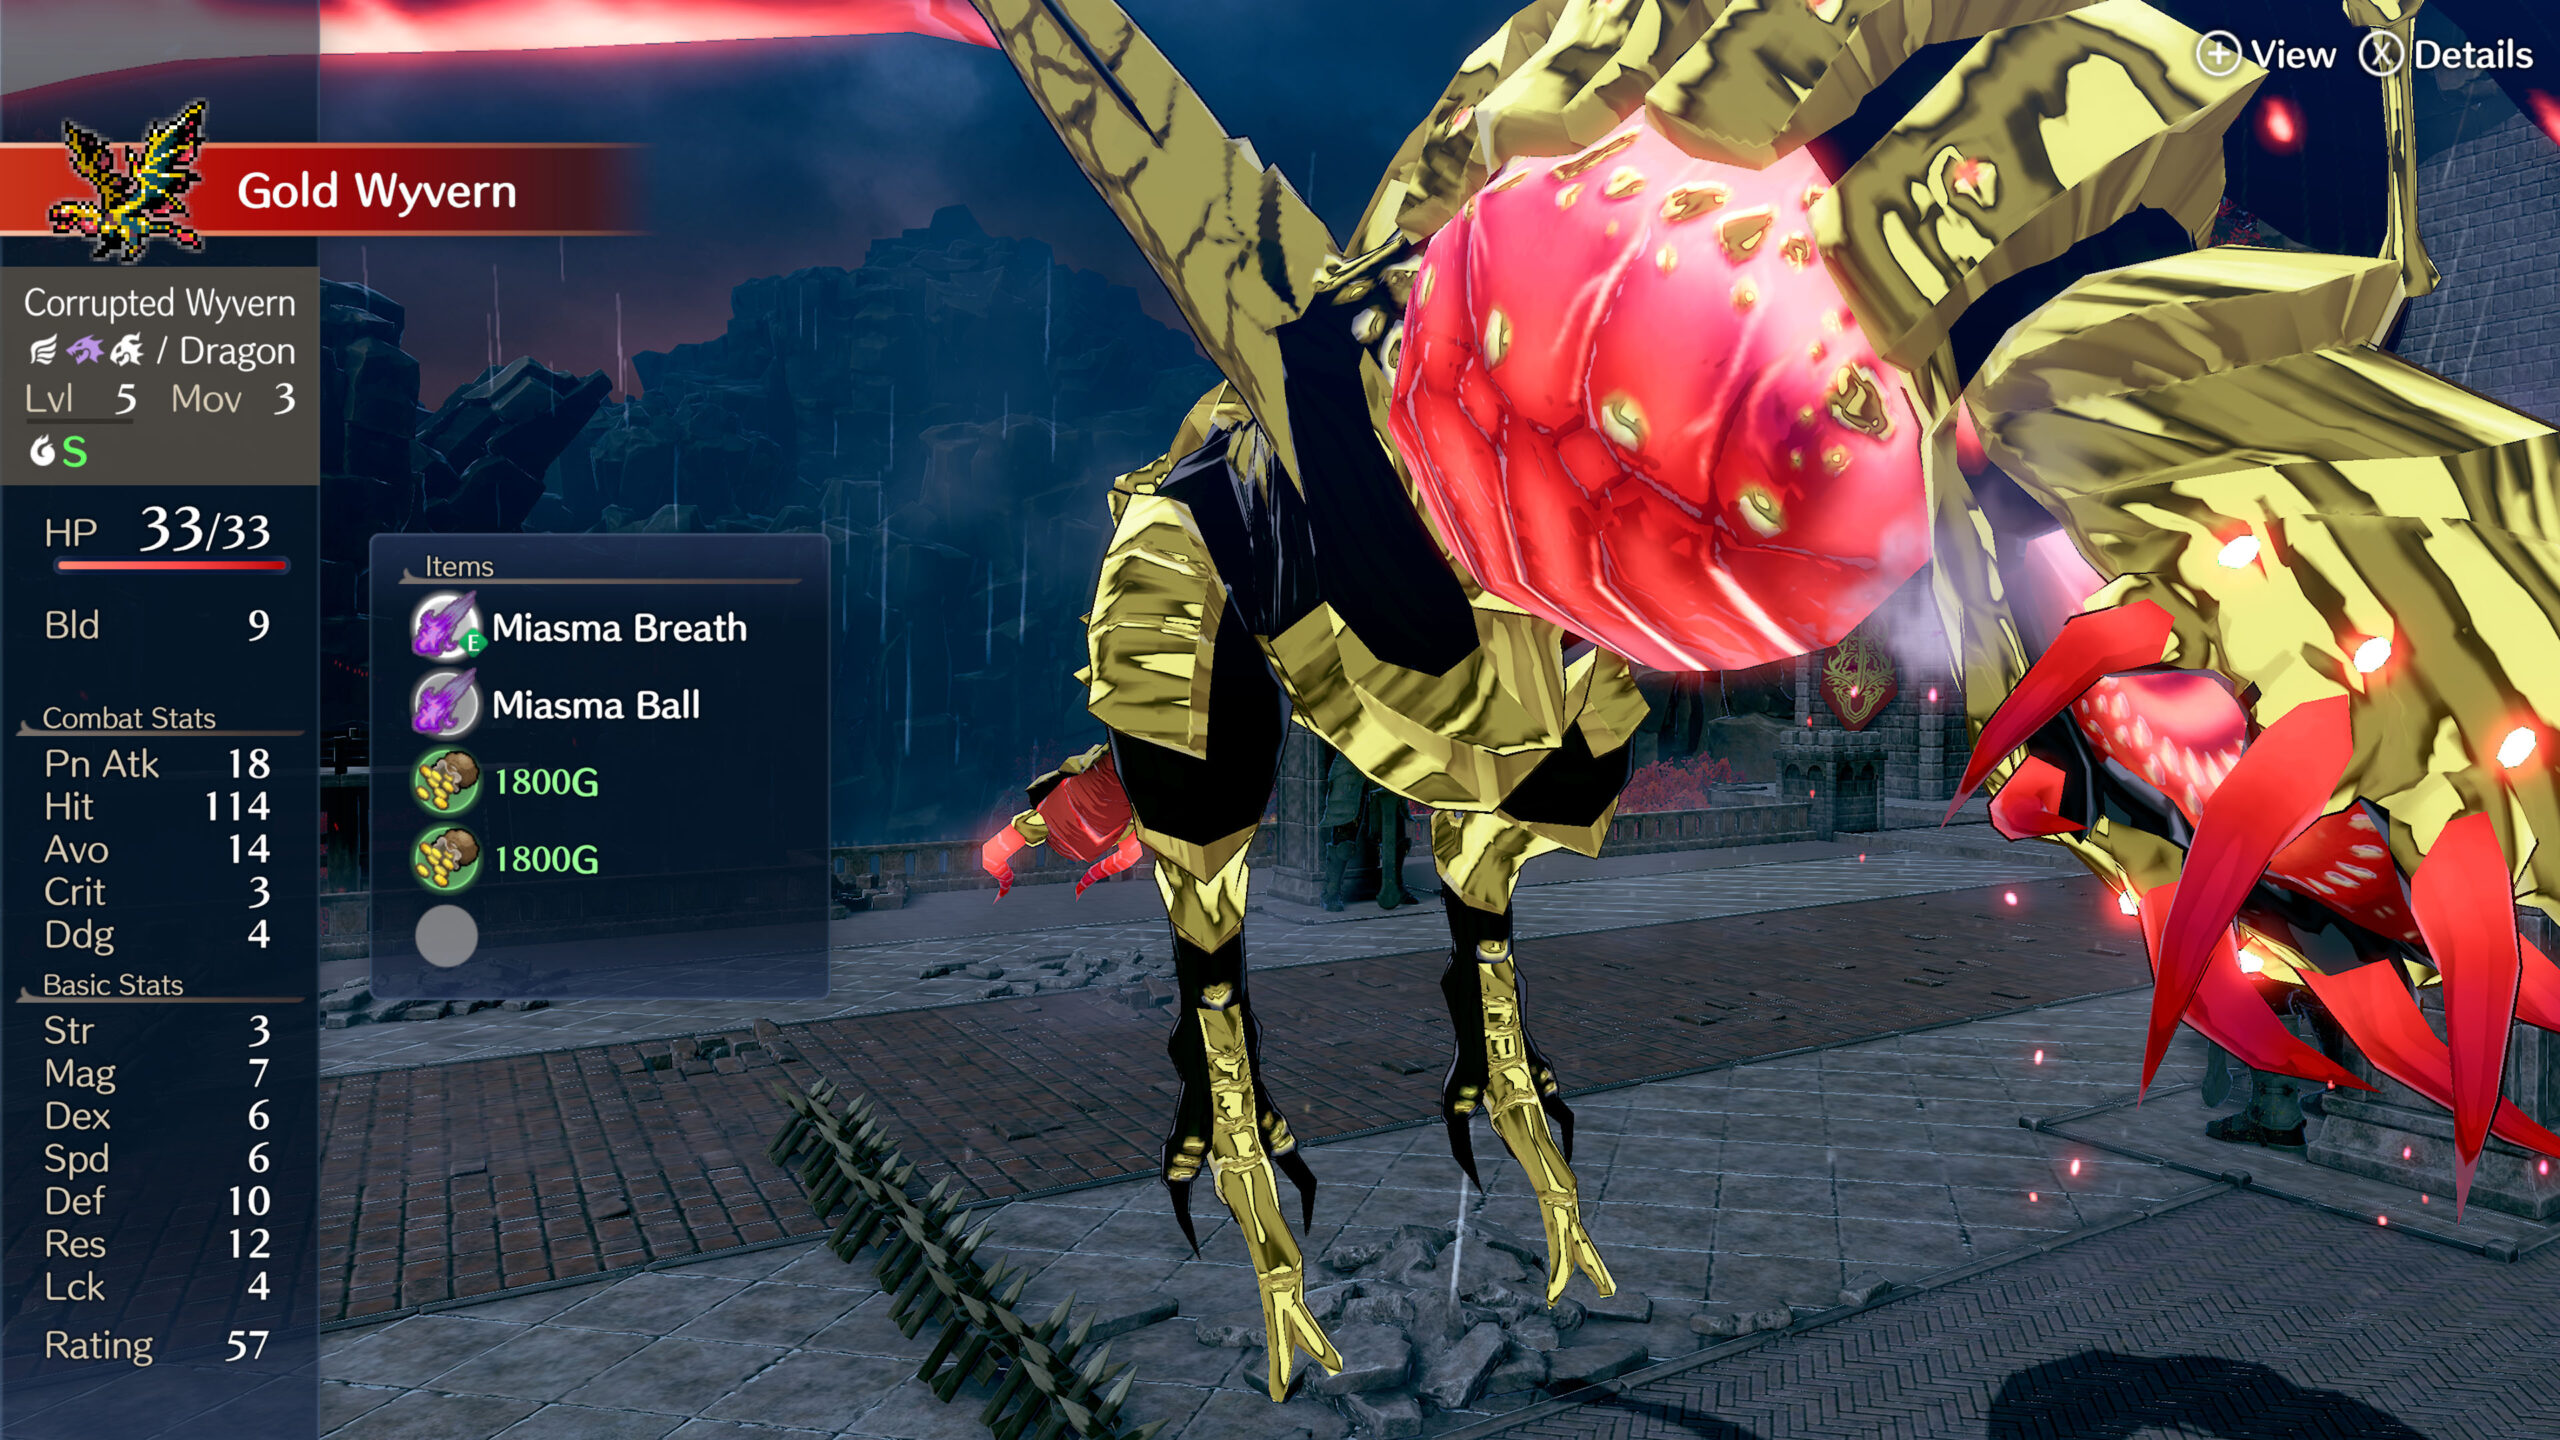
Note: Gold Wyverns in the Fell Xenologue drop double the amount of money.
| Donation Level | Money | Difficulty | Money |
|---|---|---|---|
| Level 1~2 | 1,000G | Normal | +0 |
| Level 3~4 | 1,200G | Hard | +300G |
| Level 5 | 1,500G | Maddening | +500G |
For example, if the donation Level is 5 and you’re playing on Maddening, Gold Corrupted will drop 2,000G.